How to Change Brush Size in Photoshop Using Shortcuts

How to Change Brush Size in Photoshop

Changing the brush size and hardness quickly can significantly enhance your workflow in Photoshop.

Using shortcuts allows you to adjust these settings without interrupting your creative process.

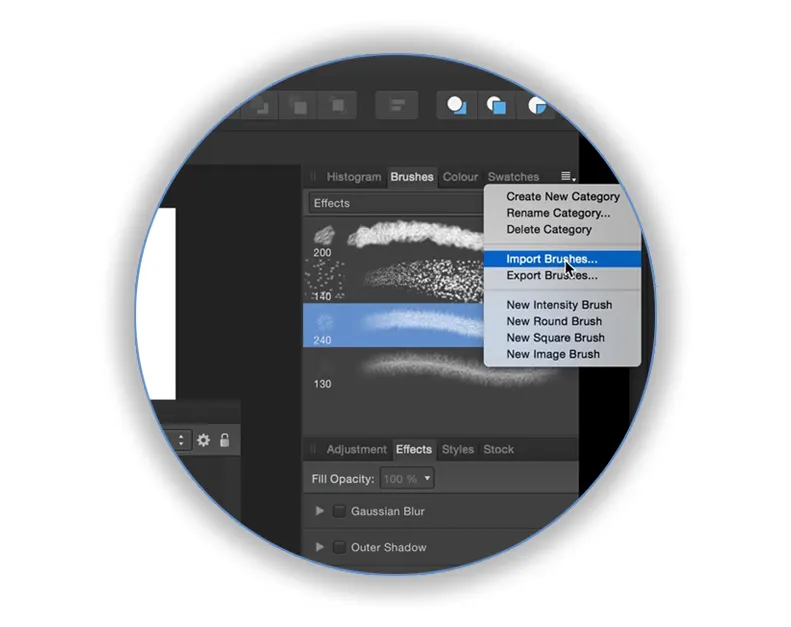
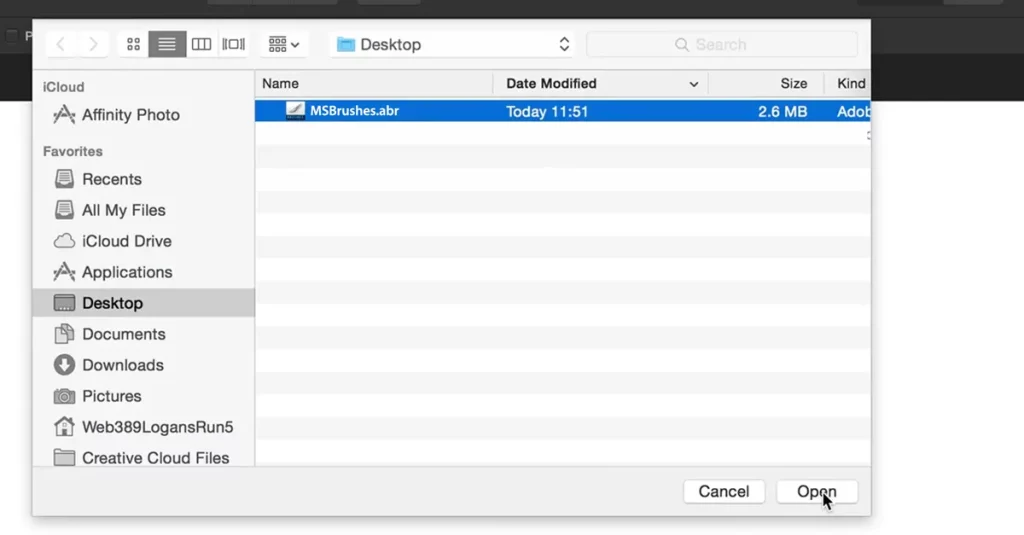
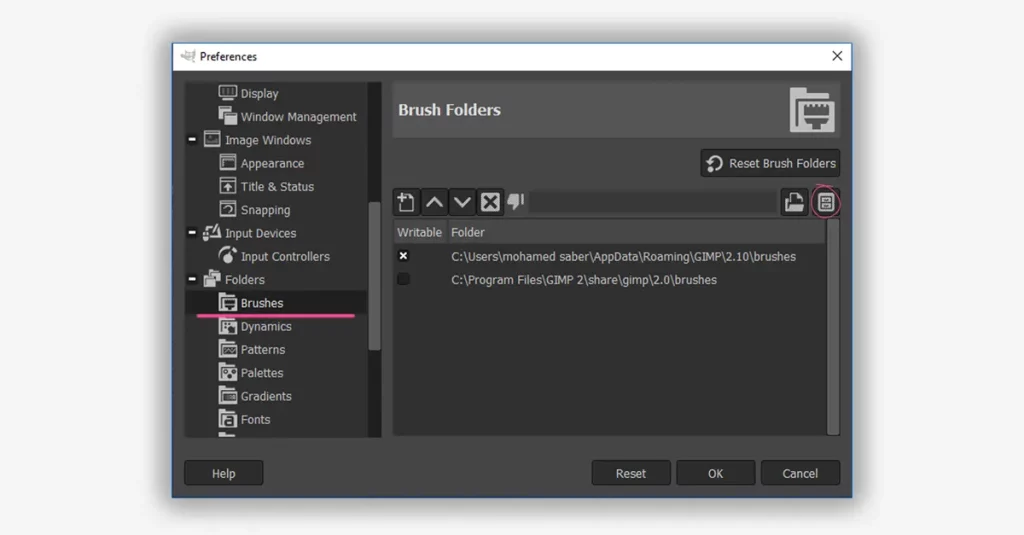
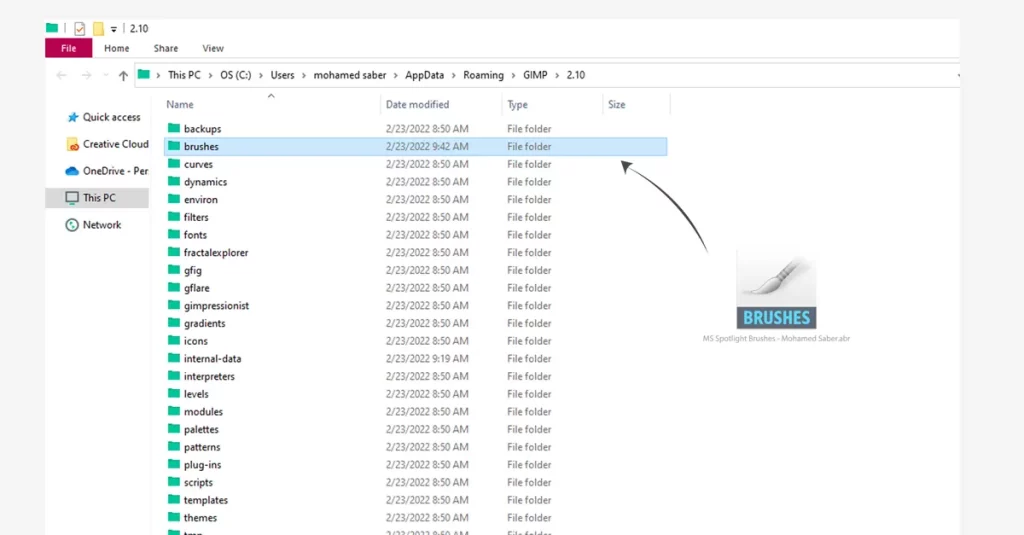
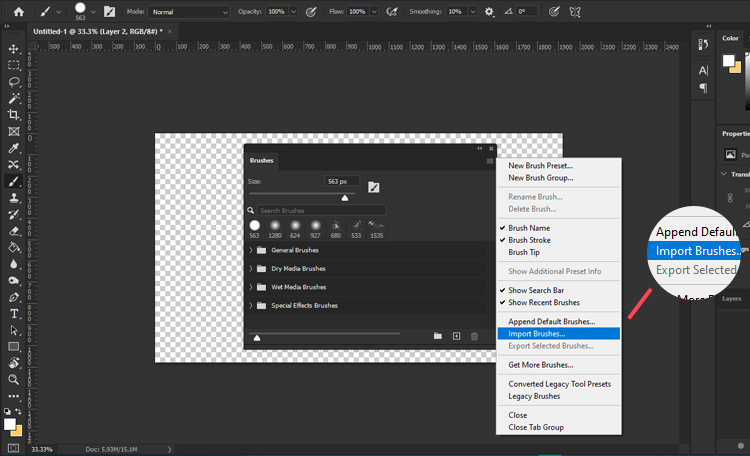
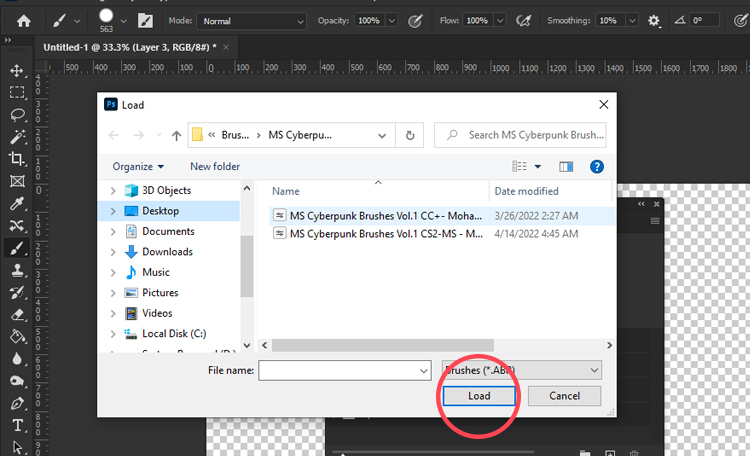
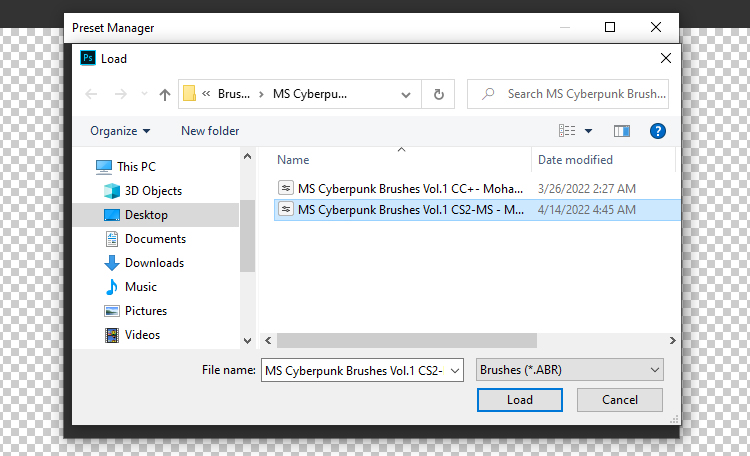
Additionally, Photoshop brushes are often saved in .abr file formats, which contain custom brushes that you can import and use for your projects.

In this tutorial, we’ll walk you through the most effective methods to change brush size and hardness using shortcuts.

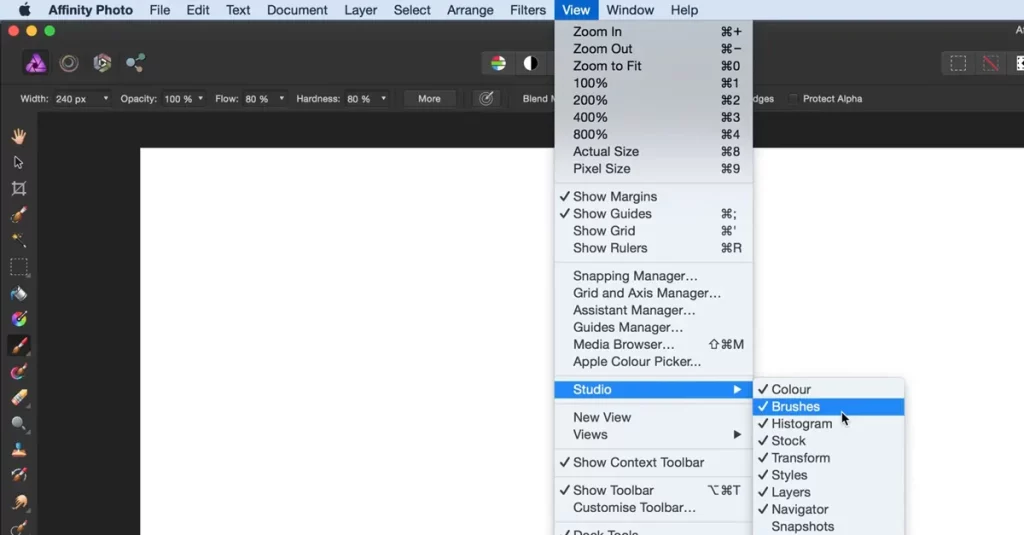
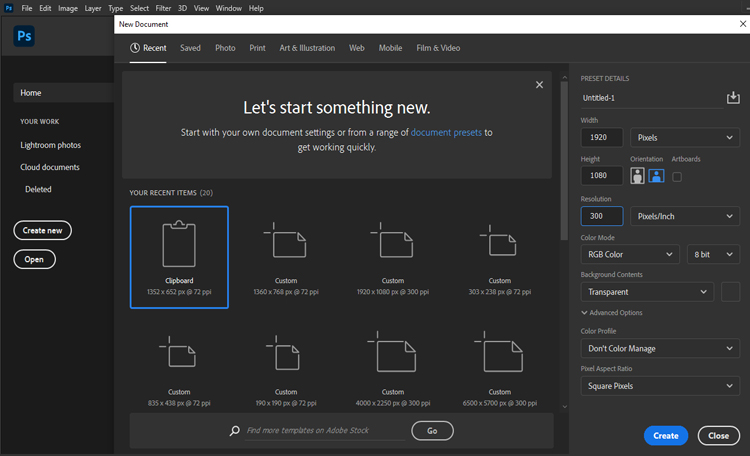
(Insert an image showcasing the brush tool in Photoshop)

Changing Brush Size and Hardness: Normal Methods

Before we dive into shortcuts, let’s look at the traditional methods of changing brush size and hardness.

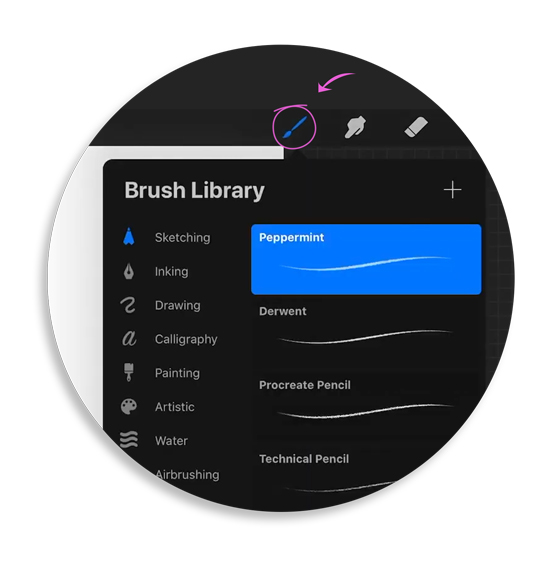
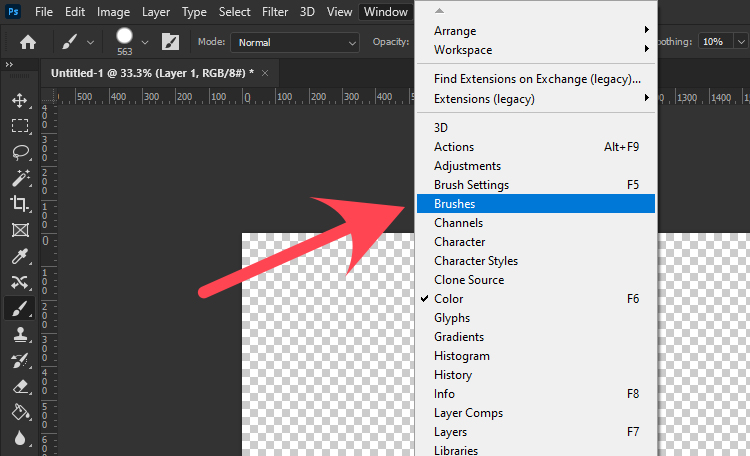
Access the Brush Panel: Click on the brush icon in the toolbar or press B to select the brush tool.

Now you can change the brush size manually in two ways: by dragging the slider, or by typing the number.

How to Change Brush Size in Photoshop

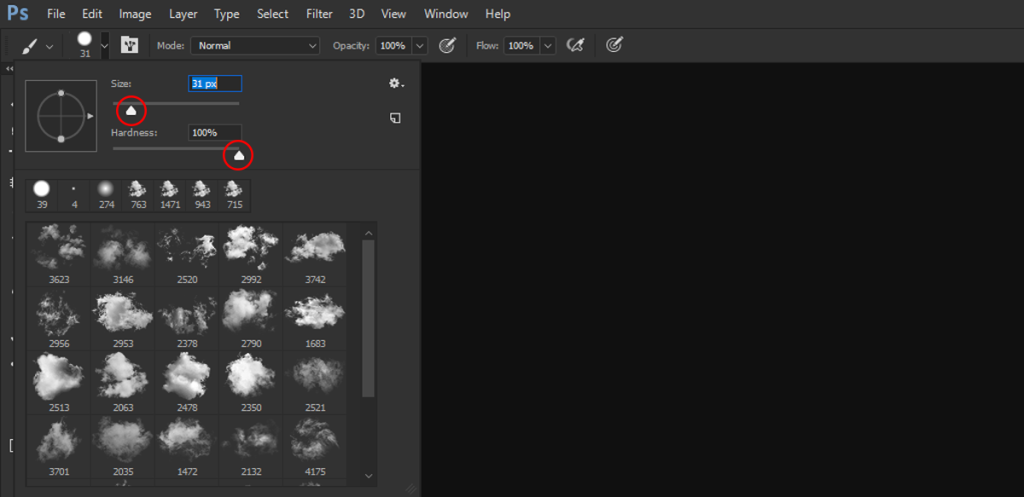
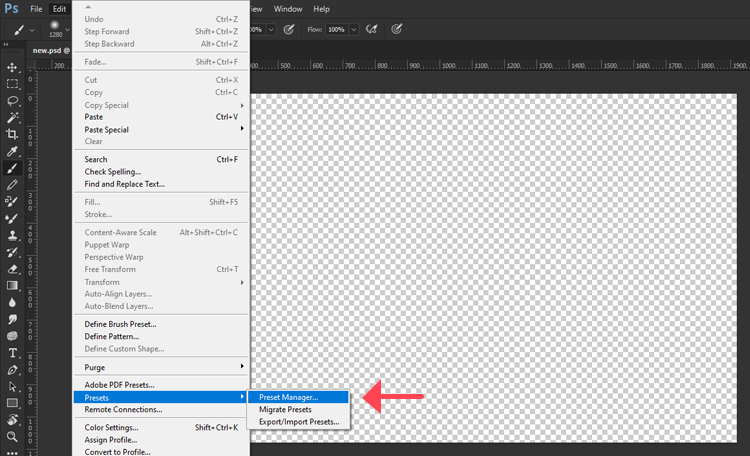
Open Brush Settings: Click on the dropdown menu next to the brush icon in the options bar at the top.

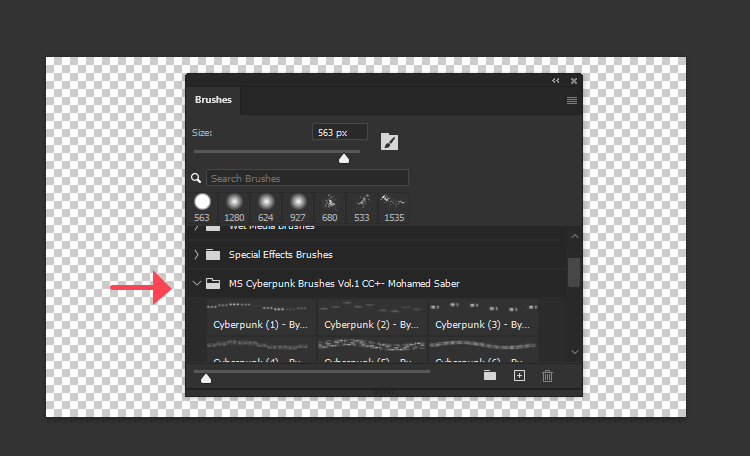
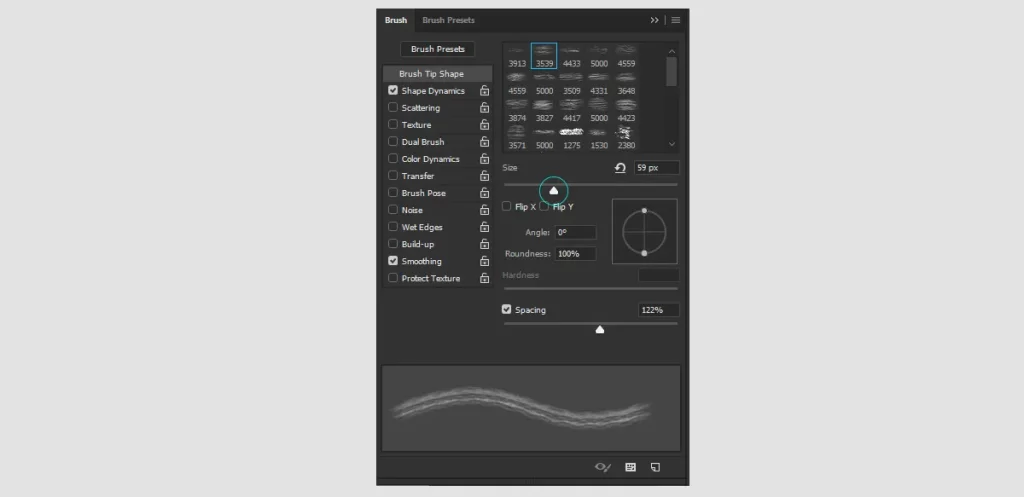
You can also change the brush size the same way in the Brushes panel.

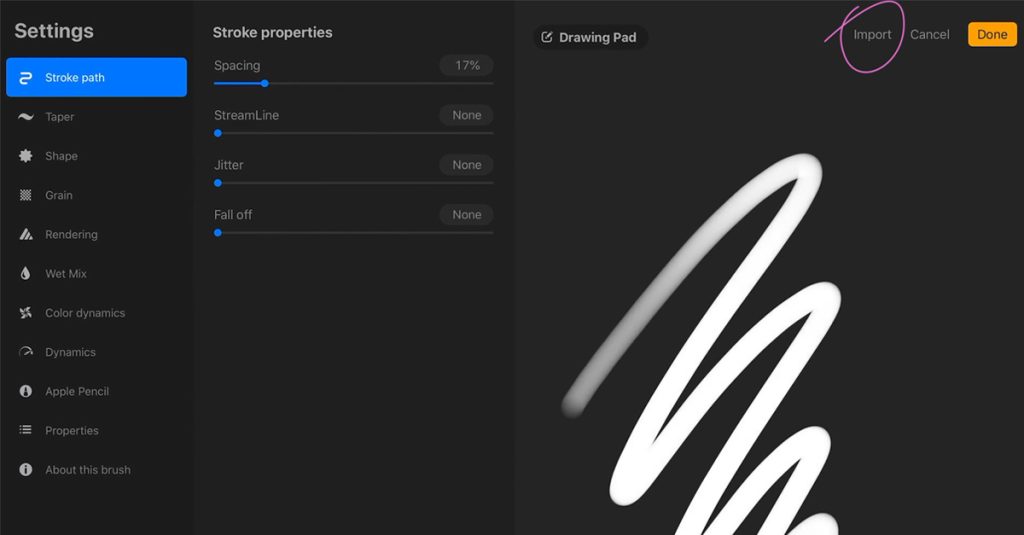
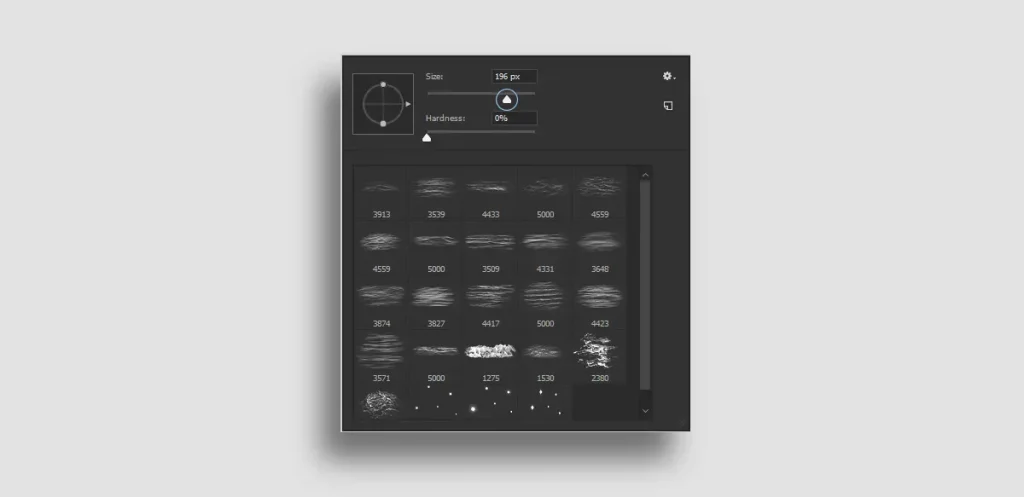
Adjust Brush Size: Use the slider under “Size” to increase or decrease the brush size.

Adjust Brush Hardness: Use the slider under “Hardness” to control the softness or hardness of the brush edges.

Method 1: Using Bracket Keys

How to Change Brush Size in Photoshop using shortcuts.

The simplest way to adjust your brush size is by using the bracket keys on your keyboard.

  • Increase Brush Size: Press the right bracket key ] to make your brush larger.
  • Decrease Brush Size: Press the left bracket key [ to make your brush smaller.
How to Change Brush Size in Photoshop

Method 2: Using the Mouse or Trackpad (HUD)

Photoshop also offers a heads-up display (HUD) for changing brush size with a mouse or trackpad.

  1. Activate the Brush Tool: Press B to select the brush tool.
  2. HUD Controls:
    • On Windows: Hold Alt + Right Click (then drag left/right to change size).
    • On Mac: Hold Control + Option (then drag left/right to change size).

On Windows: Hold Alt + Right Click and drag up/down to change the brush hardness.

On Mac: Hold Control + Option and drag up/down to change the brush hardness.

Method 3: Using Keyboard Shortcuts for Precision

For more precise control, you can use these keyboard shortcuts:

  1. Change Brush Size Gradually:
    • Increase Size: Press Shift + ]
How to Change Brush Size in Photoshop

Decrease Size: Press Shift + [

How to Change Brush Size in Photoshop
Wrap-Up

Adjusting brush size and hardness in Photoshop efficiently can revolutionize your creative workflow.

Whether you’re using shortcuts or traditional methods, staying in the zone is key.

Explore our brushes to take your art to the next level.

Dive into a world of endless possibilities and let your creativity shine!

Happy creating! 🎨

What Is an ABR File?

An ABR file is a brush file used primarily in Adobe Photoshop. These files contain various brush presets, which can include shapes, textures, and dynamics, allowing digital artists to create stunning effects with ease. In this article, we will explore what an ABR file is and how to open it in different image editing software, including Adobe Photoshop, Procreate, Photopea, GIMP, and Affinity Photo.

What Is an ABR File?

ABR stands for Adobe Brush. It is a file format created by Adobe to store brush presets for Photoshop. These files can contain a variety of brush tips, from simple shapes to complex textures, enabling artists to paint with different styles and effects. The flexibility of ABR files makes them a favorite among digital artists and designers.

How to Open an ABR File

Opening an ABR file can vary depending on the software you are using. Below, we’ll cover how to open ABR files in several popular image editing programs.

1. Adobe Photoshop

Adobe Photoshop is the native application for ABR files. To install brushes in Photoshop:

  • Open Photoshop.
  • Go to the Brushes panel.
  • Click on the Settings icon and select Import Brushes.
  • Navigate to your ABR file and select it.
  • The brushes will appear in your Brushes panel.

For a detailed guide, check out our article on How to Install Brushes in Adobe Photoshop.

2. Photopea

Photopea is an online image editor that works much like Photoshop and also supports ABR files:

  • Open Photopea in your web browser.
  • Go to the Edit menu and select Import Brushes.
  • Upload your ABR file.
  • The brushes will be available for use in the brush panel.

3. Procreate

Procreate, a popular iPad drawing app, also supports ABR brushes. To import ABR brushes into Procreate:

  • Download the ABR brush file to your iPad or a cloud storage service.
  • Open Procreate and create a new canvas.
  • Tap the Brush icon to open the Brush Library.
  • Create a new brush set by tapping the + symbol at the top right corner.
  • Hold your finger on the ABR file and select Share, then choose Procreate from the list of apps.
  • The brushes will be imported into your new brush set in Procreate.

For more details, refer to our article on How to Install Brushes in Procreate.

4. GIMP

GIMP is a powerful, open-source image editor that also supports ABR files. To install brushes in GIMP:

  • Open GIMP and go to Edit > Preferences.
  • Navigate to Folders > Brushes and note the directory path.
  • Copy your ABR file to the GIMP Brushes folder.
  • Refresh the Brushes panel in GIMP.
  • For more details, refer to our article on How to Install Brushes in GIMP.

    5. Affinity Photo

    Affinity Photo is another popular image editing software that supports ABR files. To import brushes into Affinity Photo:

    • Open Affinity Photo.
    • Go to the Brushes panel.
    • Click on the Menu icon and select Import Brushes.
    • Navigate to and select your ABR file.

    For a detailed guide, check out our article on How to Install Brushes in Affinity Photo.

How to Install ABR Brushes in Affinity Photo

How to Install ABR brushes in Affinity Photo.

Introduction

Affinity Photo is a powerful photo editing software that supports various brush formats, including ABR (Adobe Brush) files. This guide will walk you through the steps to import and use ABR brushes in Affinity Photo, enhancing your digital artwork and photo editing capabilities.

Step 1: Download the ABR Brush File

Start by downloading the ABR brush file you want to use. Make sure to save it in an easily accessible location on your computer, such as the Downloads folder.

Step 2: Open Affinity Photo

Launch Affinity Photo on your computer. Ensure that you have the latest version of the software for optimal compatibility with ABR files.

Step 3: Access the Brushes Panel

To begin importing your brushes:

  1. Go to the View menu.
  2. Select Studio, then click on Brushes to open the Brushes Panel.

Step 4: Import the ABR Brushes

Follow these steps to import the ABR file:

  1. In the Brushes Panel, click on the Menu icon (three horizontal lines) at the top right corner.
  2. Select Import Brushes from the dropdown menu.
  1. Navigate to the location where you saved the ABR file.
  2. Select the ABR file and click Open. Affinity Photo will import the brushes into your Brushes Panel.

Conclusion

Installing ABR brushes in Affinity Photo is a straightforward process that greatly expands your creative possibilities.

By following these steps, you can easily import and use a variety of brushes to enhance your digital artwork and photo editing projects. Happy creating!

Learn how to import ABR brushes into Photoshop / How to import ABR Brushes into Procreate /How to Install ABR Brushes in GIMP

How to Install ABR Brushes in GIMP

How Install ABR brushes in GIMP

introduction

GIMP (GNU Image Manipulation Program) is a powerful and free image editing software that supports various brush formats, including ABR (Adobe Brush) files. In this tutorial, we’ll show you how to import and use ABR brushes in GIMP to enhance your digital artwork.

Step 1: Download the ABR Brush File

First, download the ABR brush file you want to use. Make sure to save it in a location that is easy to access, such as your Downloads folder or a specific folder for brushes.
You can explore our extensive collection of high-quality brushes here

Step 2: Locate the GIMP Brushes Folder

Next, you need to find the folder where GIMP stores its brushes:

  1. Open GIMP.
  2. Go to Edit > Preferences.
  3. In the Preferences window, navigate to Folders > Brushes.
  4. Note the directory path of the Brushes folder. You can add a new directory if you prefer to store brushes in a different location.
Install ABR brushes in GIMP

Step 3: Copy the ABR File to the Brushes Folder

Now that you have the location of the GIMP Brushes folder:

  1. Open the folder where you saved the ABR file.
  2. Copy the ABR file.
  3. Navigate to the GIMP Brushes folder (as noted in Step 2).
  4. Paste the ABR file into the Brushes folder.
Install ABR brushes in GIMP

Step 4: Refresh the Brushes in GIMP

To make GIMP recognize the new brushes:

  1. Go back to GIMP.
  2. Open the Brushes dialog.
  3. Click the Refresh button (a small circular arrow) at the bottom of the Brushes dialog. This will load the new brushes into GIMP.

Step 5: Using the Imported Brushes

Once the brushes are loaded, you can start using them in your projects:

  1. Select the Paintbrush Tool from the toolbox.
  2. Open the Brushes dialog (if it’s not already open).
  3. Scroll through the brush list to find your imported ABR brushes.
  4. Click on the brush you want to use.
  5. Adjust the brush settings as needed and start painting!

Conclusion

By following these steps, you can easily Install ABR brushes in GIMP and expand your creative toolkit. GIMP’s flexibility and wide range of supported file formats make it a great choice for digital artists and designers. Happy creating!

Learn how to import ABR brushes into Photoshop / How to import ABR Brushes into Procreate

with our easy step-by-step guide.

How to import ABR Brushes into Procreate

Import ABR brushes into Procreate

Step 1: Explore and Download Our Brushes

To begin your creative journey, you’ll need to find and download the ABR brushes you’d like to use. You can explore our extensive collection of high-quality brushes here. Once you’ve found the perfect set, download the ABR file to your device.

Step 2: Locate the ABR File

Once you’ve downloaded the ABR file, locate it on your device. If you’re using a computer, you may need to transfer the file to your iPad via cloud storage (such as iCloud, Dropbox, or Google Drive) or using AirDrop.

Step 3: Open Procreate

Launch the Procreate app on your iPad. Ensure you have the latest version of Procreate for the best experience and compatibility with ABR files.

Step 4: Import the Brushes

  1. Open your Procreate canvas or create a new one.
  2. Tap on the Brush icon to open the Brush Library.
  3. At the top right corner of the Brush Library, tap on the + symbol to create a new brush set.
  4. Tap on the newly created brush set to open it.
  5. Now, tap on the Import button located at the top right of the brush set panel.
  6. Navigate to the location where you saved your ABR file (e.g., iCloud Drive, Dropbox, etc.).
  7. Select the ABR file to import it into Procreate.
Import ABR brushes into Procreate

Step 5: Organize and Use Your Brushes

After importing, you’ll see your new brushes within the selected brush set in Procreate. You can rename the brush set for better organization. To start using the brushes:

  1. Select the brush you want to use from the imported set.
  2. Adjust the brush settings as needed.
  3. Start creating your artwork with your newly imported brushes!

How to Import ABR Brushes into Procreate on iPad

Locate the ABR file on your iPad or cloud storage.

Hold your finger on the brush file and select Share from the options menu

Import ABR brushes into Procreate

Choose Procreate from the list of apps.

Import ABR brushes into Procreate

Procreate will automatically import the brushes into your selected brush set.

Congratulations!

You’ve successfully imported ABR brushes into Procreate.

Now you can enjoy a wider variety of tools and enhance your digital art projects.

Happy creating!

“Learn how to import ABR brushes into Photoshop with our easy step-by-step guide.

How to install Photoshop Brushes

Installing Photoshop Brushes For (Photoshop CC 2020 and newer)

in This blog I will show you how to install Photoshop brushes.

This information applies to Adobe Photoshop CC 2019 through Photoshop 2022.
To get started, you’ll need to first download brushes for Photoshop, find your brush in our store

, and download our Photoshop brushes or brush pack you’ve chosen.
Launch Photoshop and create a new file or open an existing one!


how to install photoshop brushes


1. Open the Brushes panel, by going to Window > Brushes.


how to install photoshop brushes


2. click the hamburger menu on the top right corner then click Import Brushes.


how to install photoshop brushes


3. Locate your brush pack to select the ABR file of the brush pack.

4. then select “Load” button to insert them into Photoshop.


how to install photoshop brushes


5.The new brush (or brush pack) displays in the Brushes window.

how to install photoshop brushes

How to install Photoshop Brushes in Older Photoshop Versions (CC 2019 and Older)

1. going to Edit > Presets > Preset Manager.

2.select from Preset Type menu “Brushes” or Ctrl+1(in keyboard).

3.then select “Load” button to insert your brushes.

4.Locate your ABR file then Double Click ABR File

Enjoy!
read our blogs