How Install ABR brushes in GIMP
introduction
GIMP (GNU Image Manipulation Program) is a powerful and free image editing software that supports various brush formats, including ABR (Adobe Brush) files. In this tutorial, we’ll show you how to import and use ABR brushes in GIMP to enhance your digital artwork.
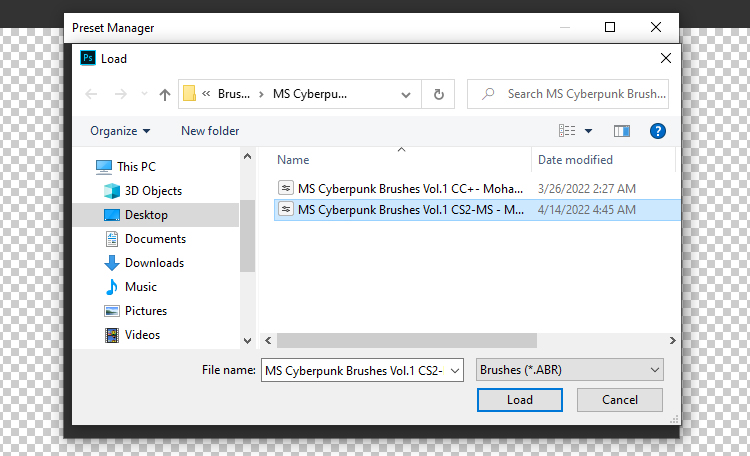
Step 1: Download the ABR Brush File
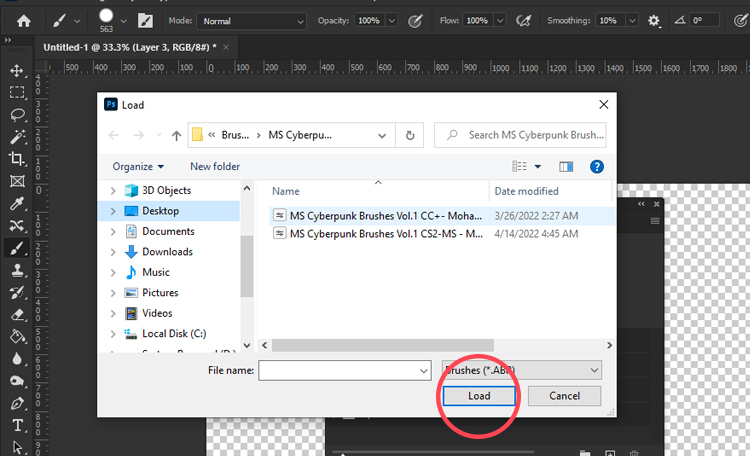
First, download the ABR brush file you want to use. Make sure to save it in a location that is easy to access, such as your Downloads folder or a specific folder for brushes.
You can explore our extensive collection of high-quality brushes here
Step 2: Locate the GIMP Brushes Folder
Next, you need to find the folder where GIMP stores its brushes:
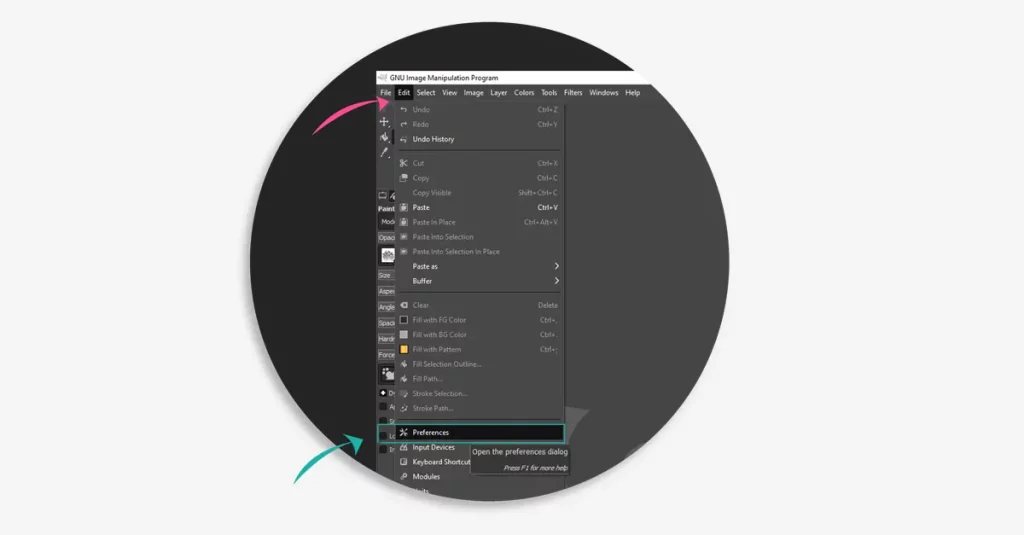
- Open GIMP.
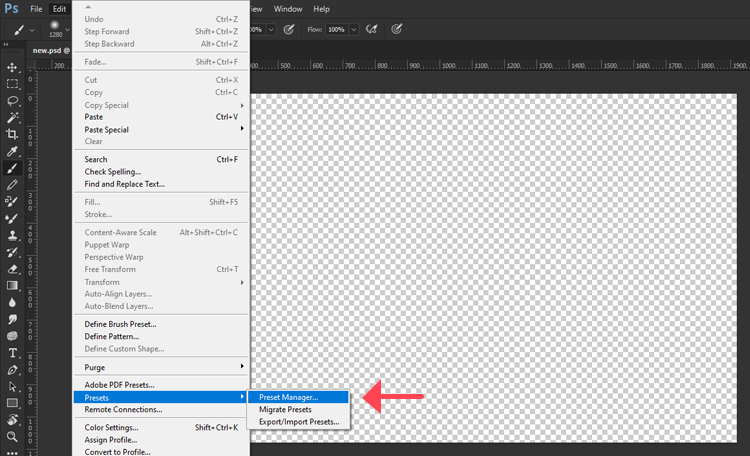
- Go to Edit > Preferences.
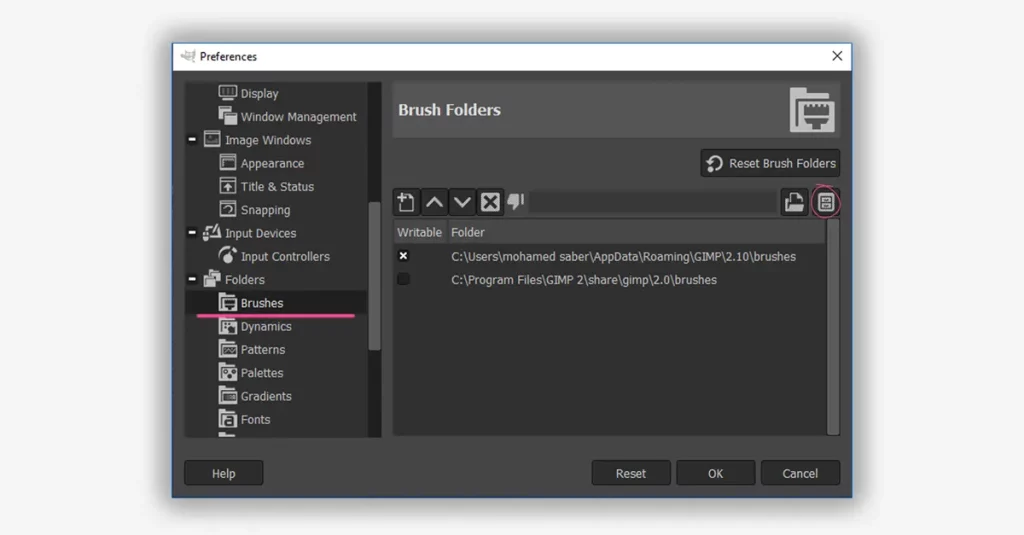
- In the Preferences window, navigate to Folders > Brushes.
- Note the directory path of the Brushes folder. You can add a new directory if you prefer to store brushes in a different location.
Step 3: Copy the ABR File to the Brushes Folder
Now that you have the location of the GIMP Brushes folder:
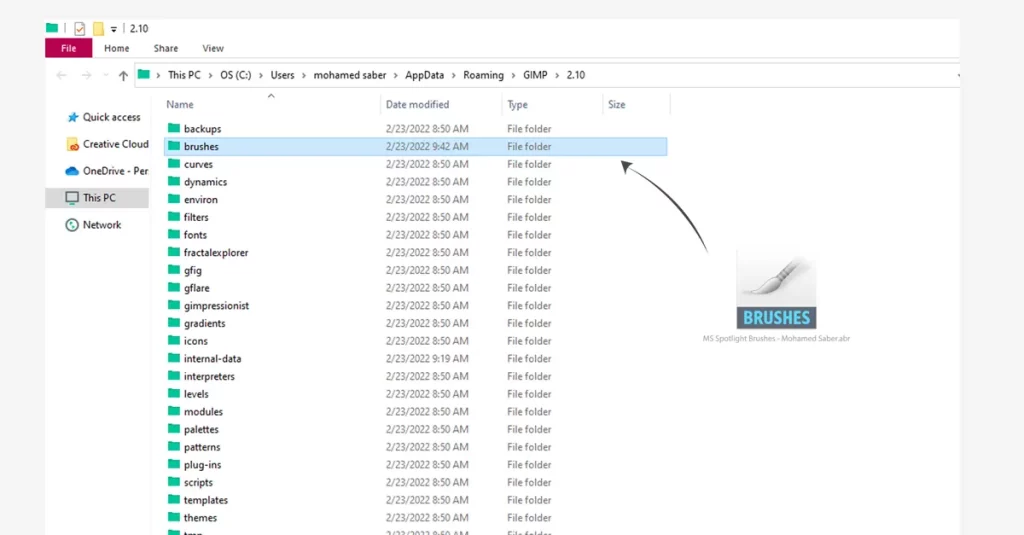
- Open the folder where you saved the ABR file.
- Copy the ABR file.
- Navigate to the GIMP Brushes folder (as noted in Step 2).
- Paste the ABR file into the Brushes folder.
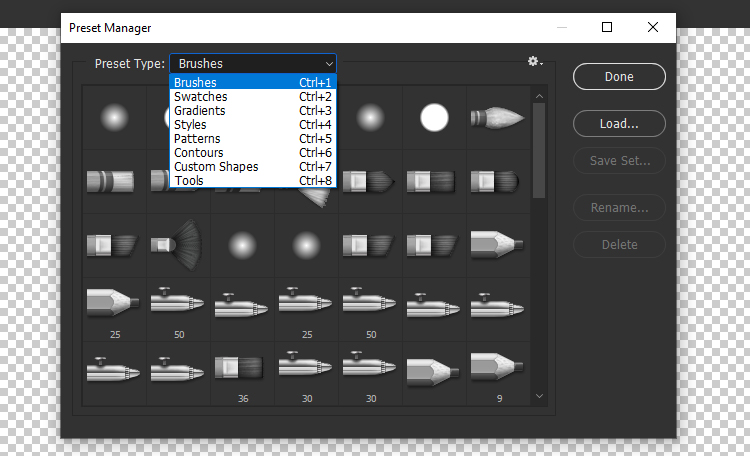
Step 4: Refresh the Brushes in GIMP
To make GIMP recognize the new brushes:
- Go back to GIMP.
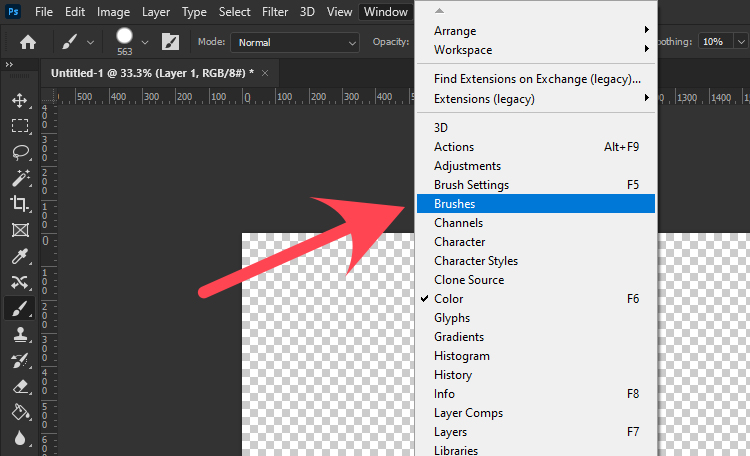
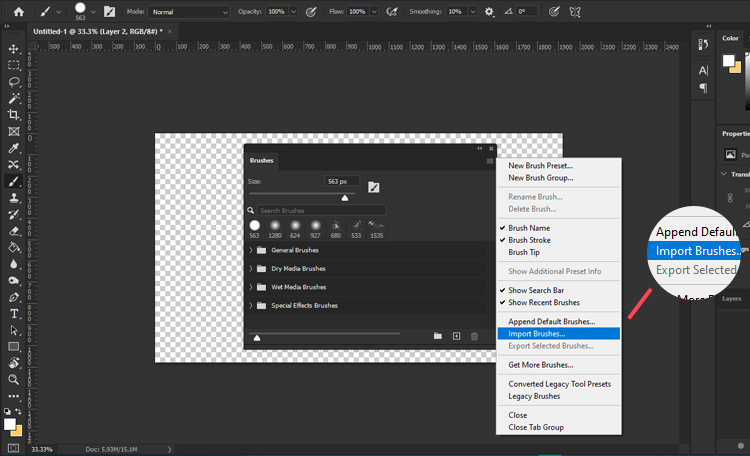
- Open the Brushes dialog.
- Click the Refresh button (a small circular arrow) at the bottom of the Brushes dialog. This will load the new brushes into GIMP.
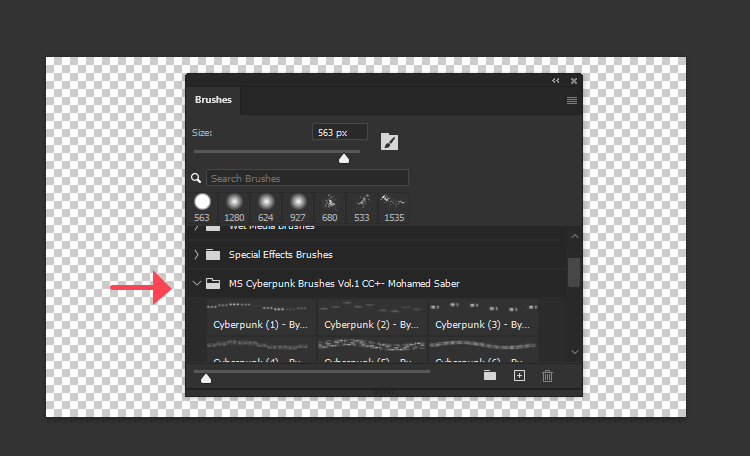
Step 5: Using the Imported Brushes
Once the brushes are loaded, you can start using them in your projects:
- Select the Paintbrush Tool from the toolbox.
- Open the Brushes dialog (if it’s not already open).
- Scroll through the brush list to find your imported ABR brushes.
- Click on the brush you want to use.
- Adjust the brush settings as needed and start painting!
Conclusion
By following these steps, you can easily Install ABR brushes in GIMP and expand your creative toolkit. GIMP’s flexibility and wide range of supported file formats make it a great choice for digital artists and designers. Happy creating!
Learn how to import ABR brushes into Photoshop / How to import ABR Brushes into Procreate
with our easy step-by-step guide.