

“An astronaut witnesses a radiant burst—an explosion of light and spirit, surreal and untamed, echoing the wild energy of life itself.”
Tag: DigitalArt
Symphony II

“A lone figure drifts across dark waters, guitar in hand, as a crescent moon glows beside a silent tree—music and light weaving a dreamlike harmony.”
How to Change Brush Size in Photoshop Using Shortcuts
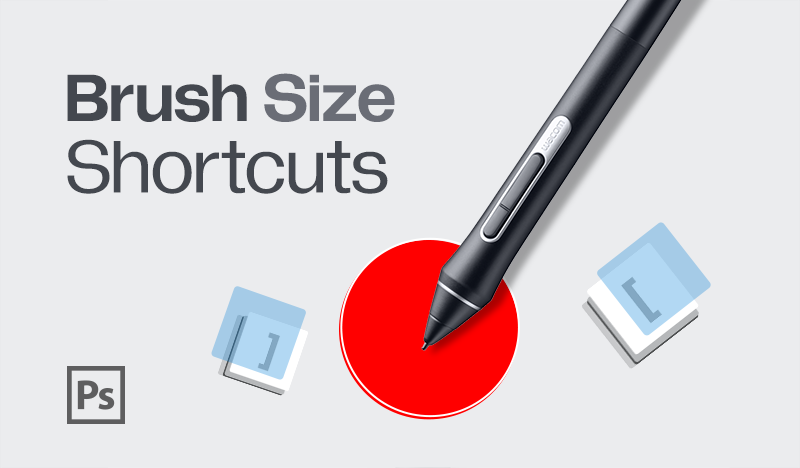
How to Change Brush Size in Photoshop
Changing the brush size and hardness quickly can significantly enhance your workflow in Photoshop.
Using shortcuts allows you to adjust these settings without interrupting your creative process.
Additionally, Photoshop brushes are often saved in .abr file formats, which contain custom brushes that you can import and use for your projects.
In this tutorial, we’ll walk you through the most effective methods to change brush size and hardness using shortcuts.
(Insert an image showcasing the brush tool in Photoshop)
Changing Brush Size and Hardness: Normal Methods
Before we dive into shortcuts, let’s look at the traditional methods of changing brush size and hardness.
Access the Brush Panel: Click on the brush icon in the toolbar or press B to select the brush tool.

Now you can change the brush size manually in two ways: by dragging the slider, or by typing the number.
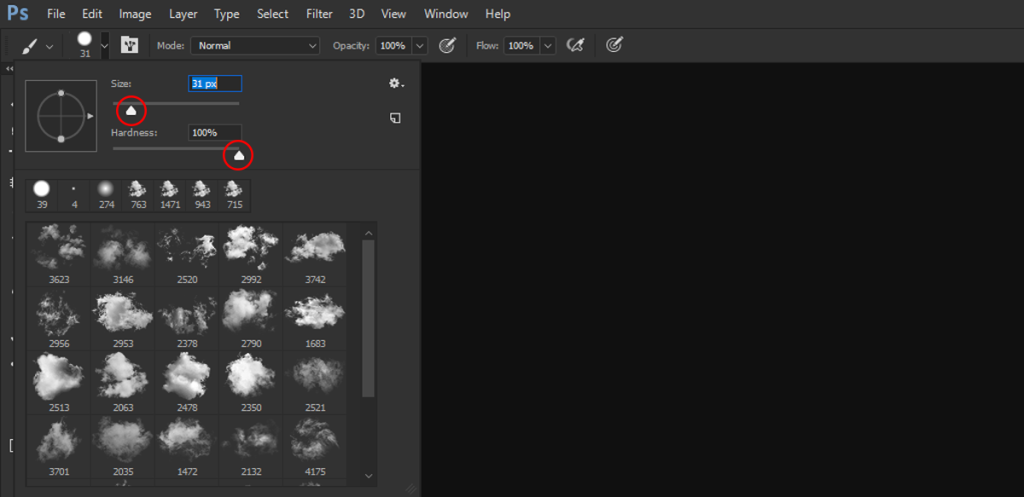
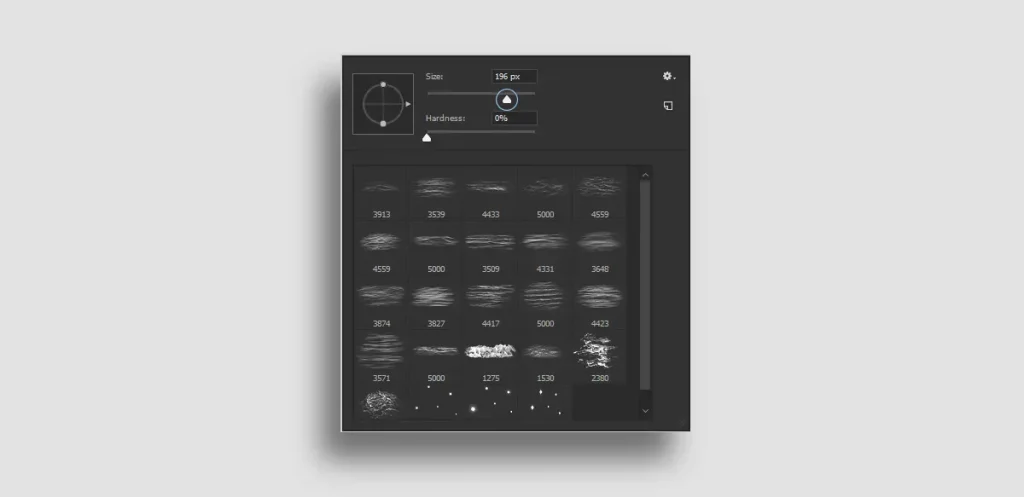
Open Brush Settings: Click on the dropdown menu next to the brush icon in the options bar at the top.

You can also change the brush size the same way in the Brushes panel.
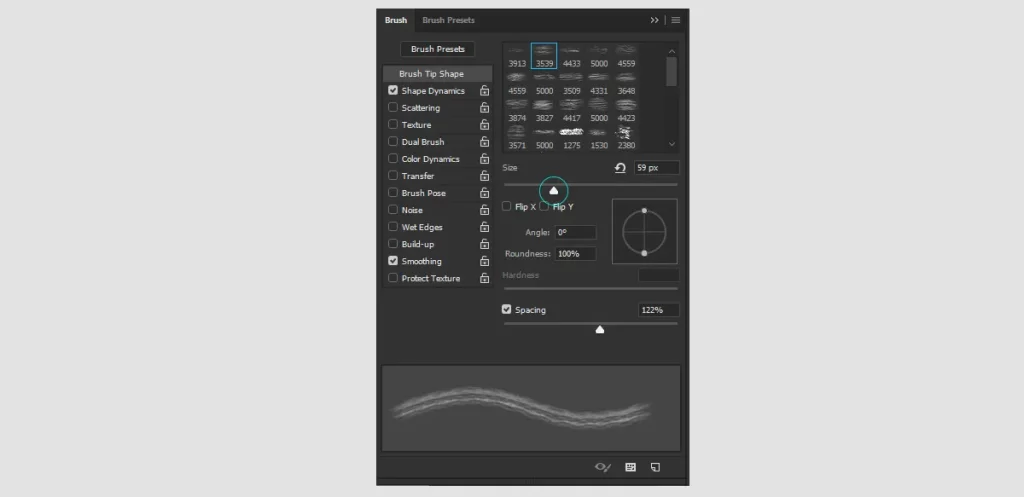
Adjust Brush Size: Use the slider under “Size” to increase or decrease the brush size.
Adjust Brush Hardness: Use the slider under “Hardness” to control the softness or hardness of the brush edges.
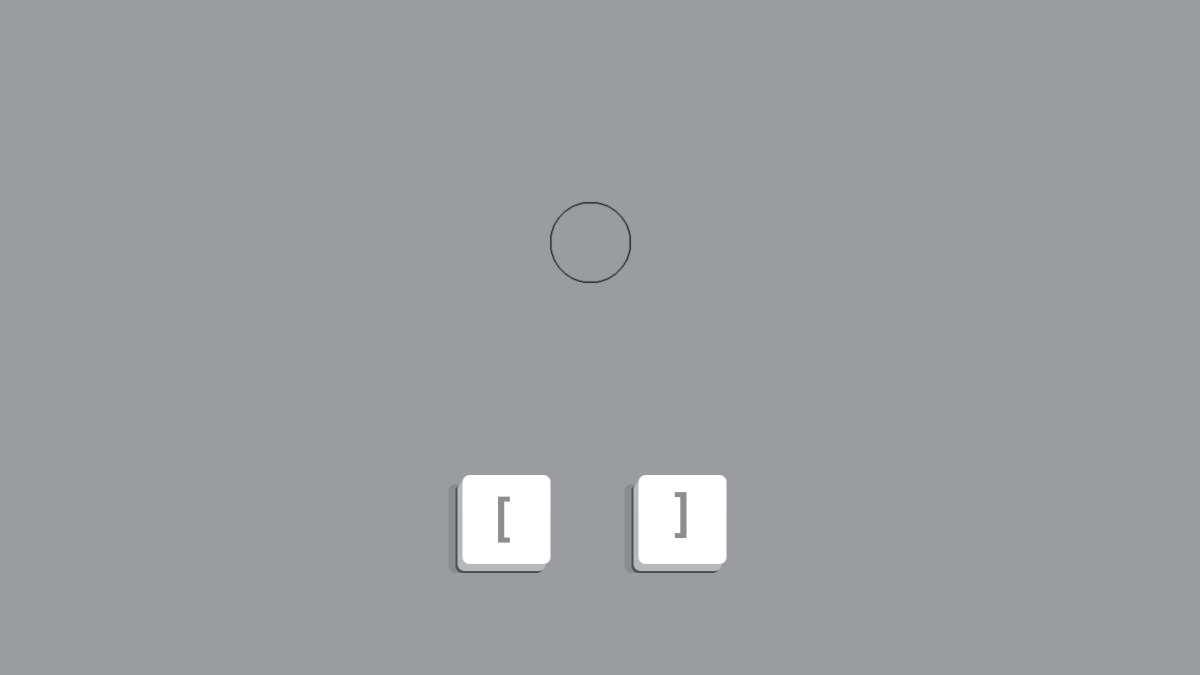
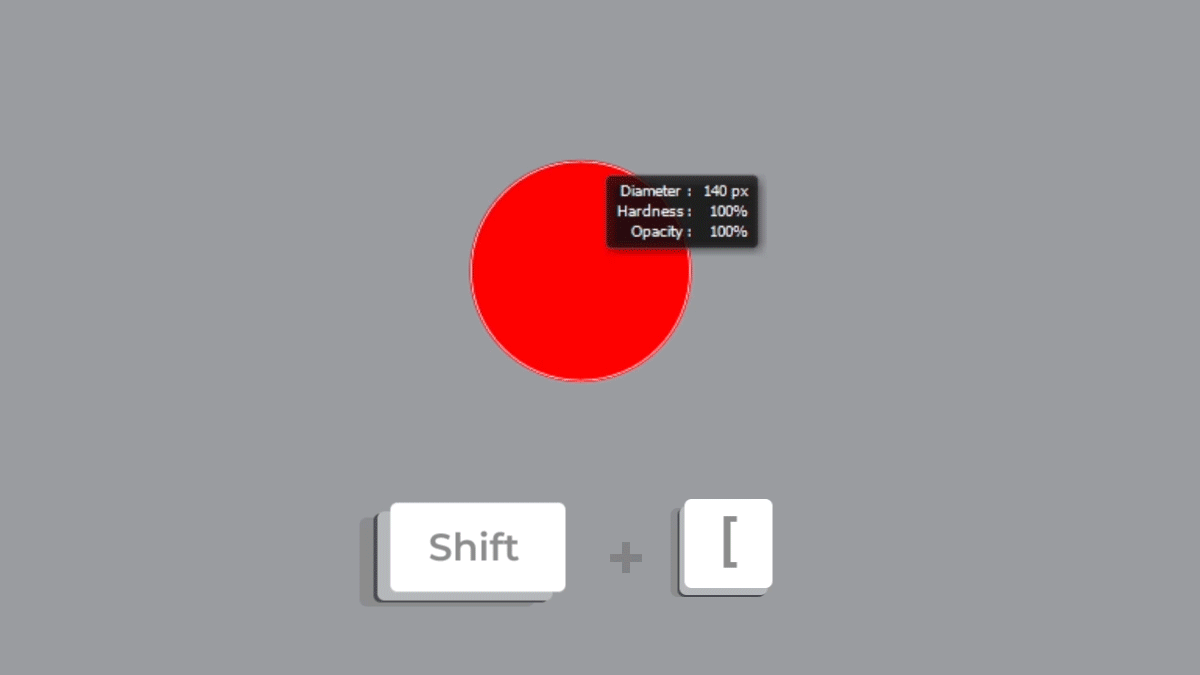
Method 1: Using Bracket Keys
How to Change Brush Size in Photoshop using shortcuts.
The simplest way to adjust your brush size is by using the bracket keys on your keyboard.
- Increase Brush Size: Press the right bracket key
]to make your brush larger. - Decrease Brush Size: Press the left bracket key
[to make your brush smaller.
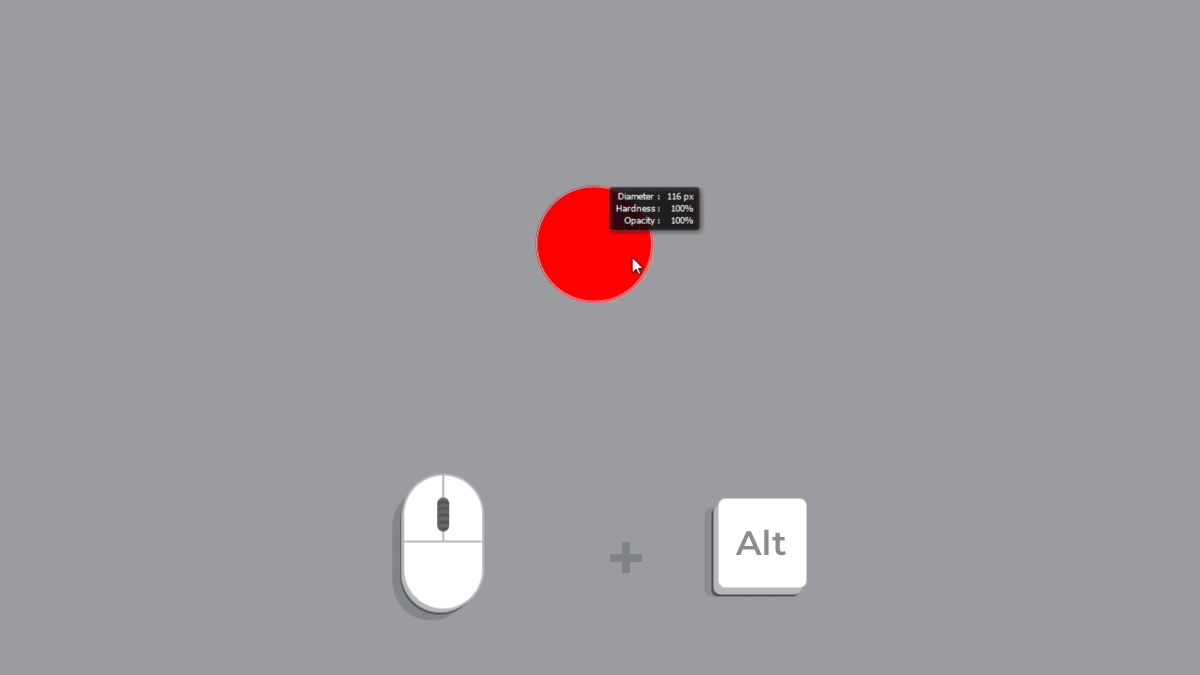
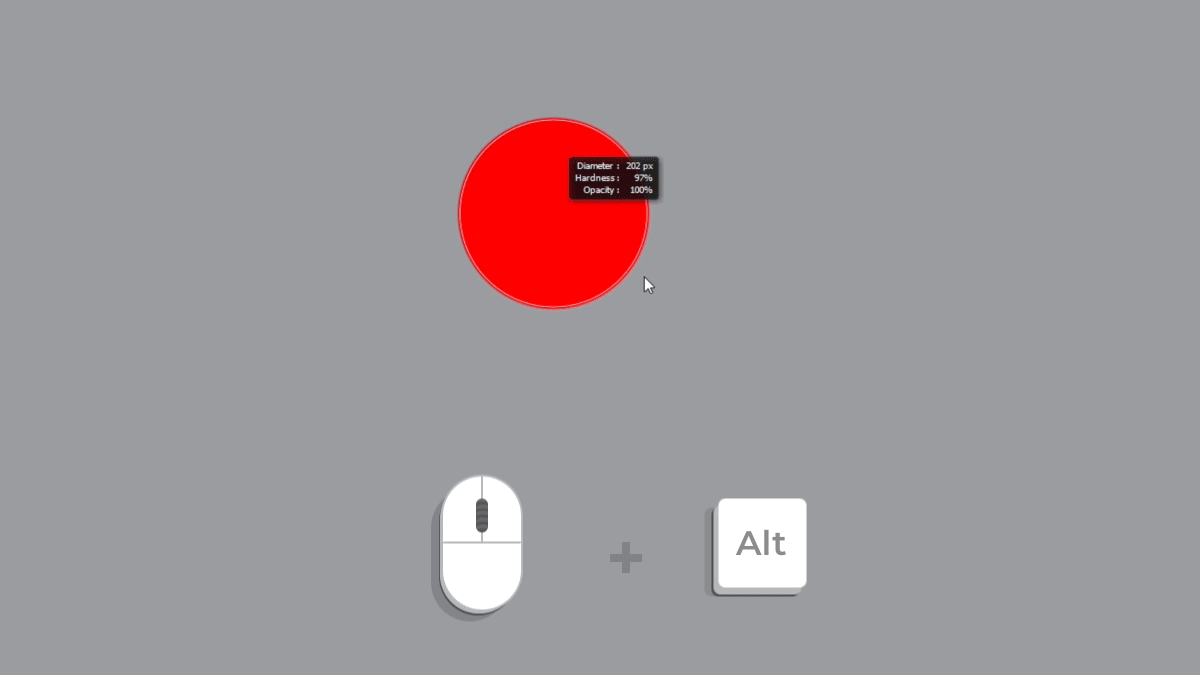
Method 2: Using the Mouse or Trackpad (HUD)
Photoshop also offers a heads-up display (HUD) for changing brush size with a mouse or trackpad.
- Activate the Brush Tool: Press
Bto select the brush tool. - HUD Controls:
- On Windows: Hold
Alt + Right Click(then drag left/right to change size). - On Mac: Hold
Control + Option(then drag left/right to change size).
- On Windows: Hold
On Windows: Hold Alt + Right Click and drag up/down to change the brush hardness.
On Mac: Hold Control + Option and drag up/down to change the brush hardness.
Method 3: Using Keyboard Shortcuts for Precision
For more precise control, you can use these keyboard shortcuts:
- Change Brush Size Gradually:
- Increase Size: Press
Shift + ]
- Increase Size: Press
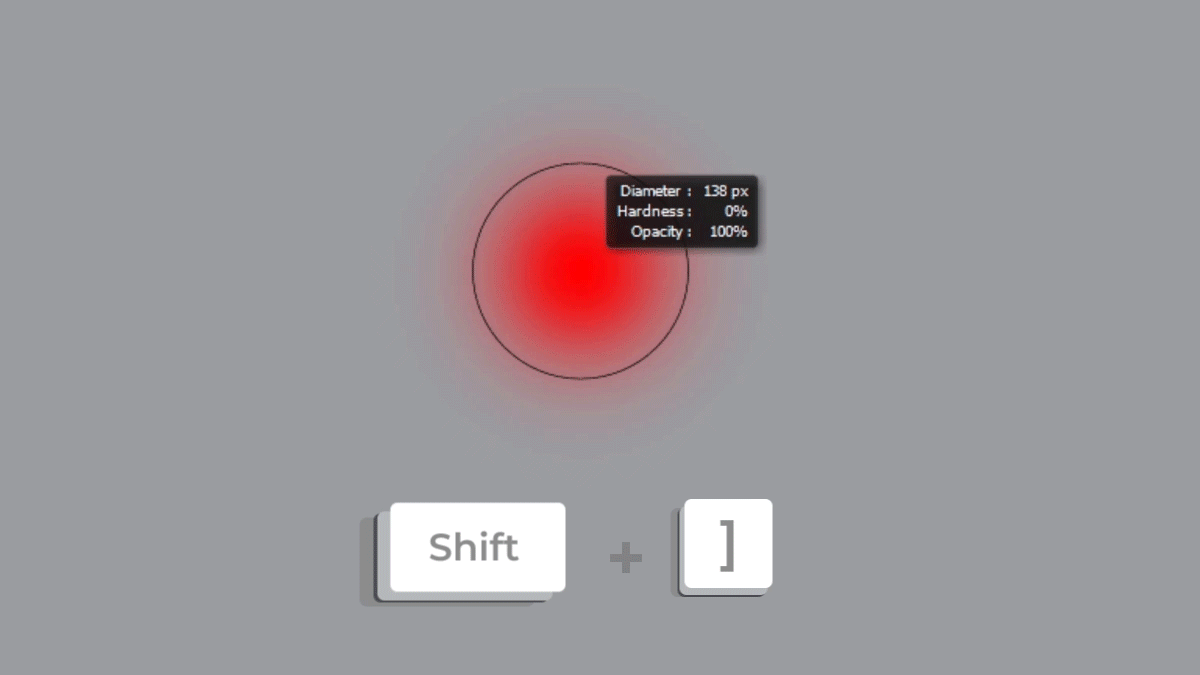
Decrease Size: Press Shift + [
Wrap-Up
Adjusting brush size and hardness in Photoshop efficiently can revolutionize your creative workflow.
Whether you’re using shortcuts or traditional methods, staying in the zone is key.
Explore our brushes to take your art to the next level.
Dive into a world of endless possibilities and let your creativity shine!
Happy creating! 🎨
How to Create a Color Palette from Images
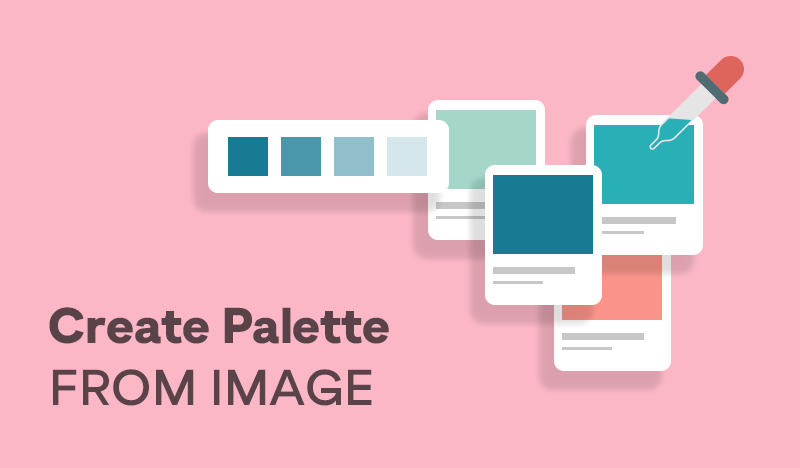
How to Create a Color Palette from Images
Creating a color palette from images can be a great way to capture the perfect hues for your design projects. In this tutorial, we’ll show you how to use Cooler and Adobe Color to extract beautiful color palettes from your favorite images.
Choose Your Image
Select an image that has colors you want to use in your palette.
This could be a photo, a piece of art, or any image with vibrant colors.
Step 1: Using Cooler to Extract Colors
- Go to Cooler: Visit the Cooler website and click on the “Create Palette from photo” tool.
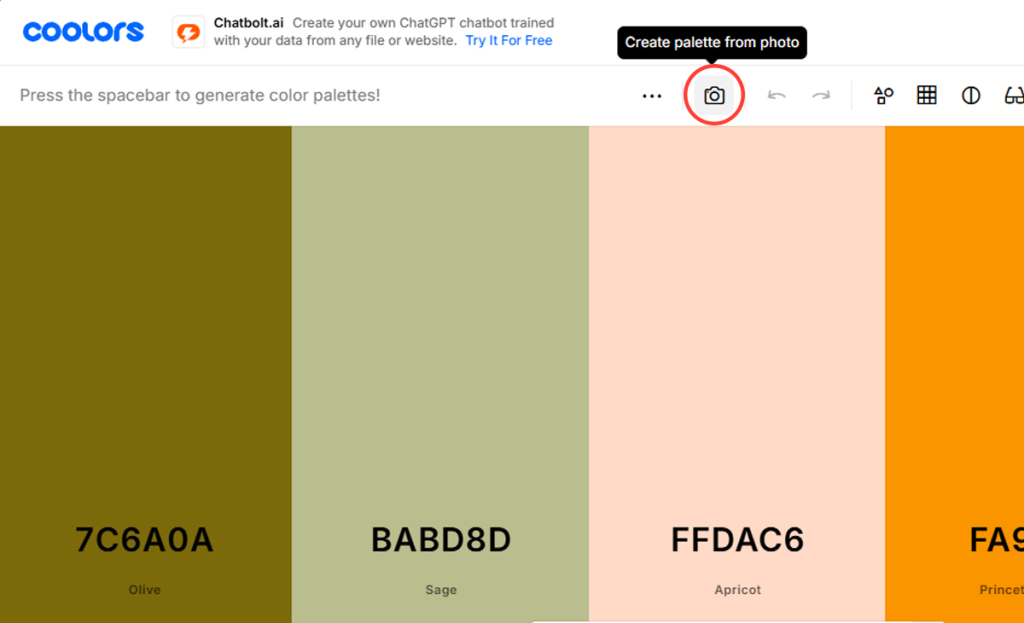
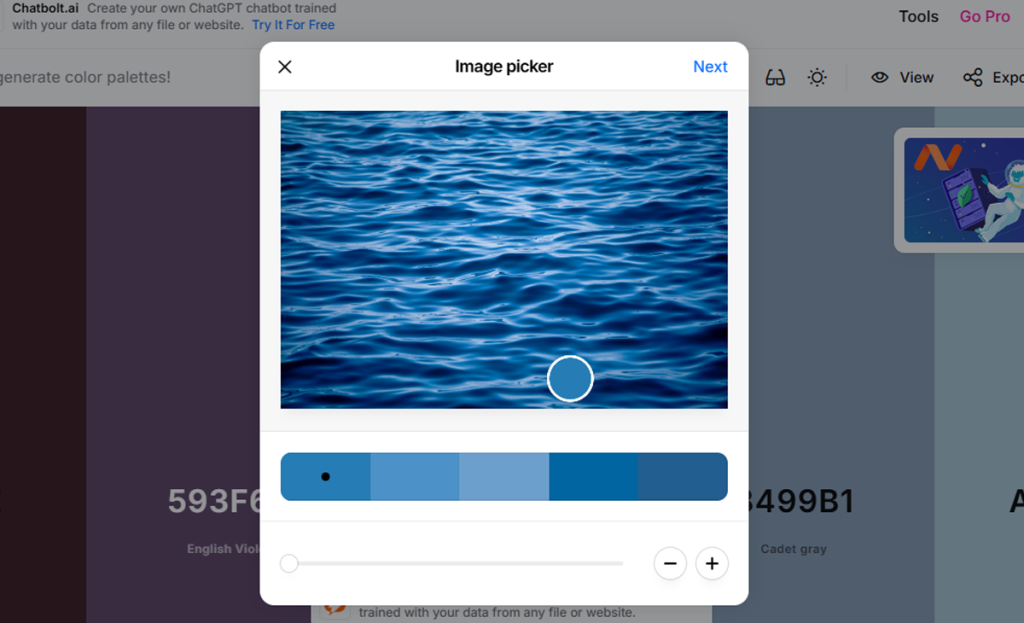
- Upload Your Image: Drag and drop your chosen image into the tool.
- Generate Palette: Cooler will automatically generate a color palette based on the dominant colors in your image.
You can adjust the palette by moving the color pucks on the image.
Exporting Your Palette in Cooler
Press Next: After generating your color palette, press the “Next” button to proceed to the export options.
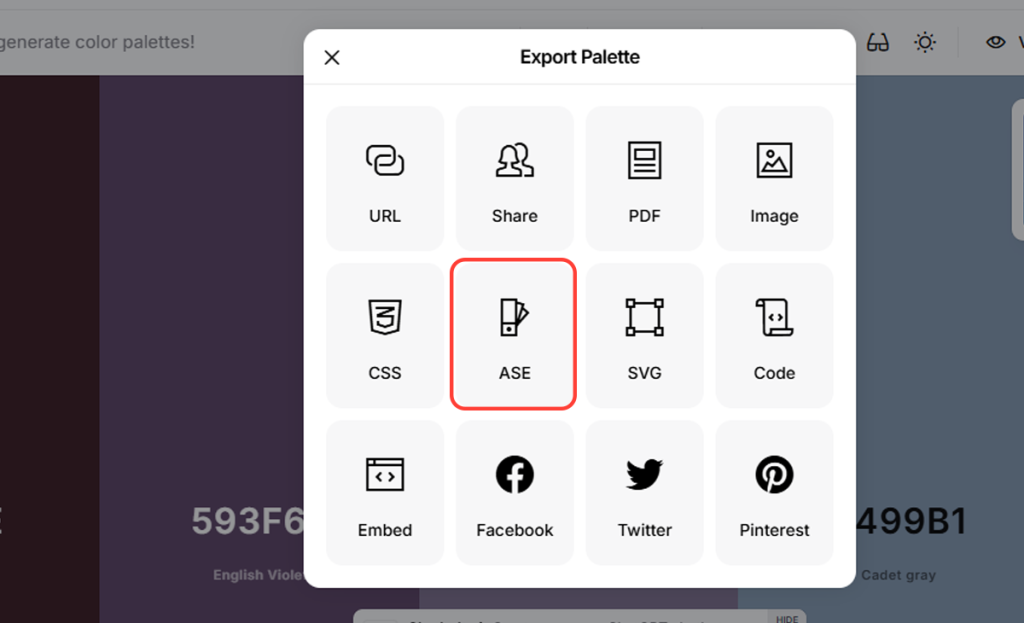
Export Palette: Click on the “Export Palette” button.
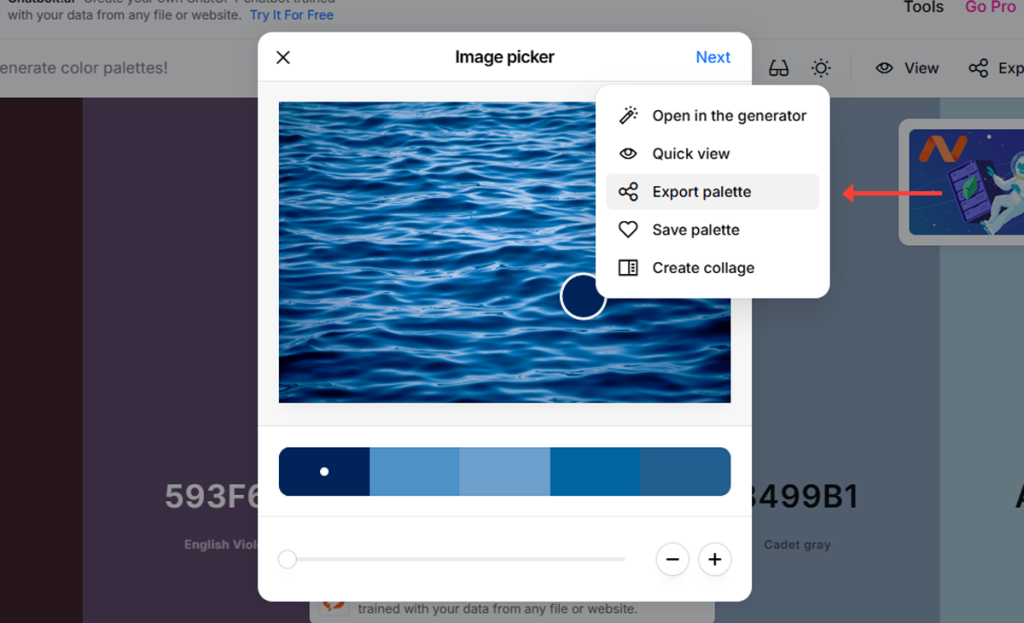
Select ASE File Format: Choose the ASE file format to ensure compatibility with Adobe software.
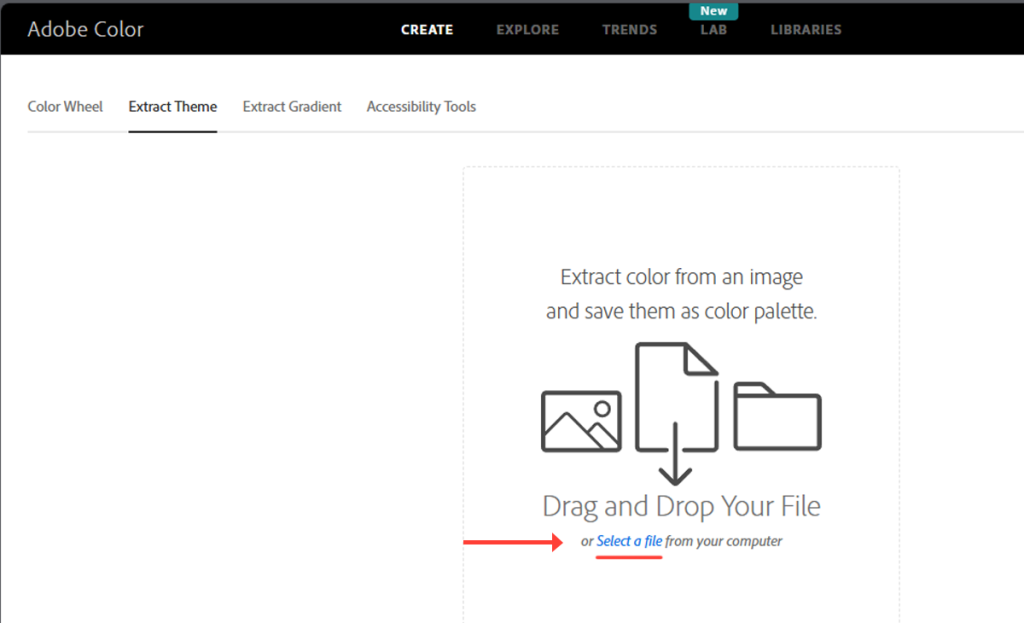
Step 2: Using Adobe Color to Refine Your Palette
Go to Adobe Color: Visit the Adobe Color website and click on the “Create” option.
Upload Your Image: Drag and drop your image into Adobe Color.
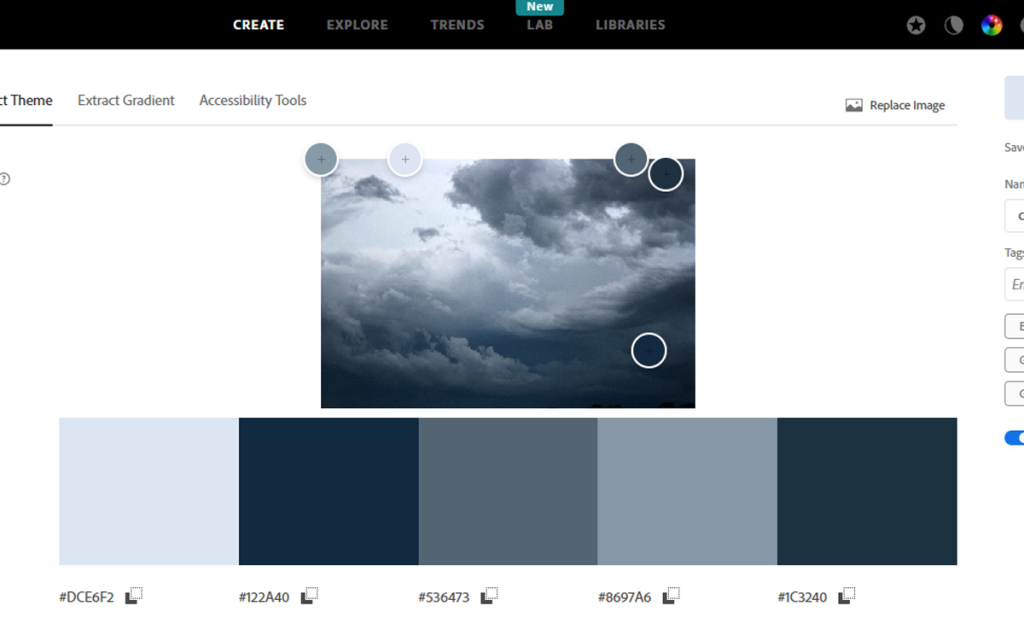
Adjust the Palette: Adobe Color will generate a color palette based on your image.
You can fine-tune the colors by moving the color pucks and adjusting the harmony settings.
Save and Use Your Palette
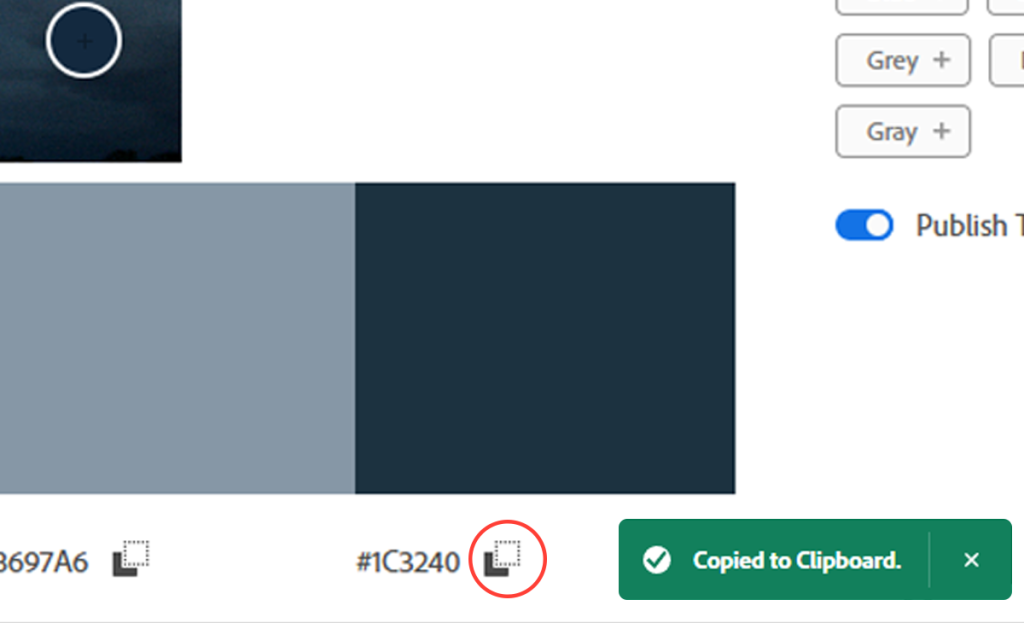
Once you’re satisfied with your palette, save it to your Creative Cloud library in Adobe Color, or copy the colors to your clipboard by pressing the “Copy to Clipboard” button.
You can also create swatches in Photoshop using these colors.
Conclusion
Creating color palettes from images is a fantastic way to ensure your designs have a cohesive and visually appealing color scheme. With tools like Cooler and Adobe Color, you can easily extract and refine color palettes to suit your needs.
Dive into these tools and let your creativity shine through your projects!
Happy designing!