Unleash Your Inner Artist: Ocean Photoshop Tutorial with Premium Brushes
Welcome to our comprehensive ocean Photoshop tutorial! Whether you’re an experienced digital artist or a newcomer eager to dive into the world of seascapes, this guide is designed for you. In this tutorial, we’ll explore the step-by-step process of painting an ocean scene, using our specially designed brushes to bring the waves to life. You’ll learn how to create realistic waves, shimmering reflections, and dynamic light effects that will transform your digital canvas into a breathtaking masterpiece. Ready to embark on this creative journey? Let’s get started!
Tutorial Assets
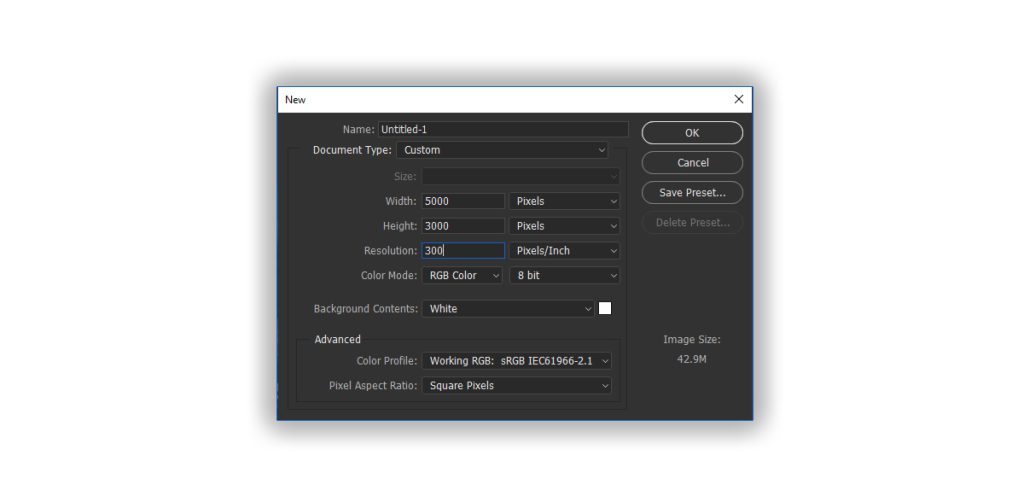
Step 1
Open a New Document in Photoshop at 5000 x 3000 pixels and 300 dpi.
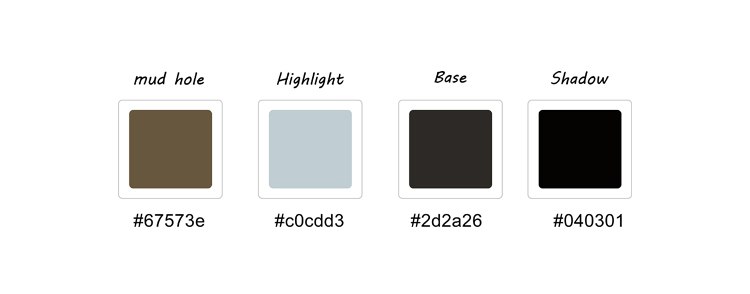
Step 2: Choosing Your Color Palette
For this tutorial, I used these colors to bring the ocean scene to life. Here are the color codes:
- Base color:
#26424d - Highlight:
#7fb8ab - Highlight 2:
#4bbaa5 - Shadow 1:
#1a333d - Shadow 2:
#0f2025
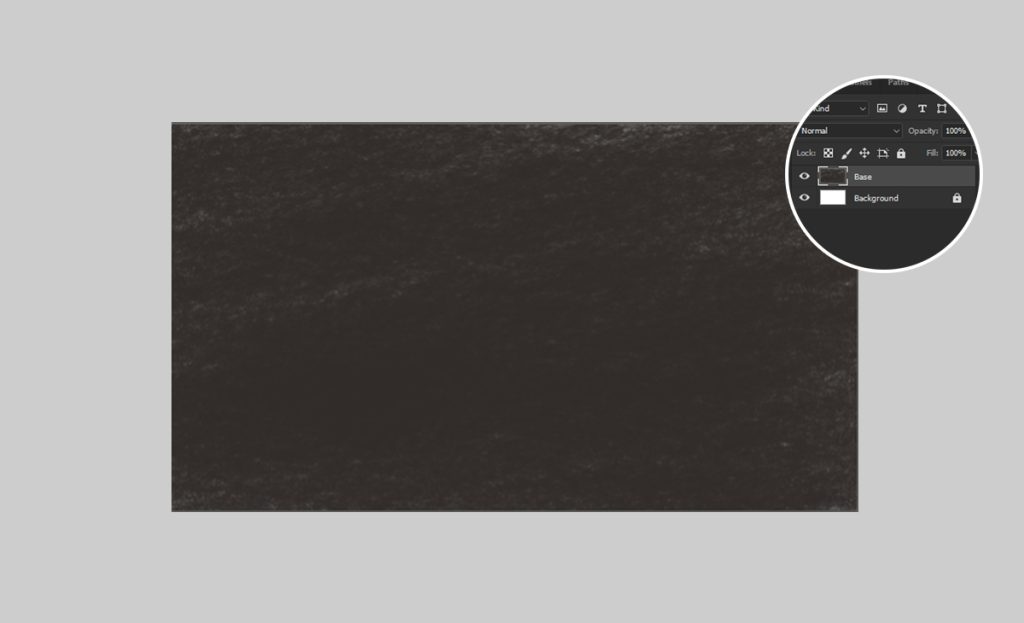
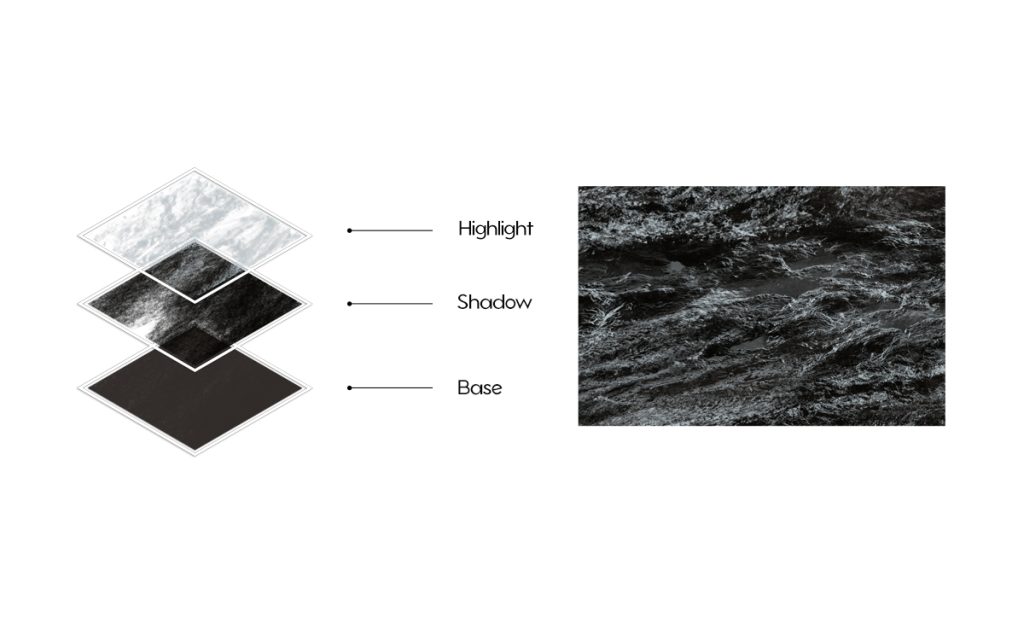
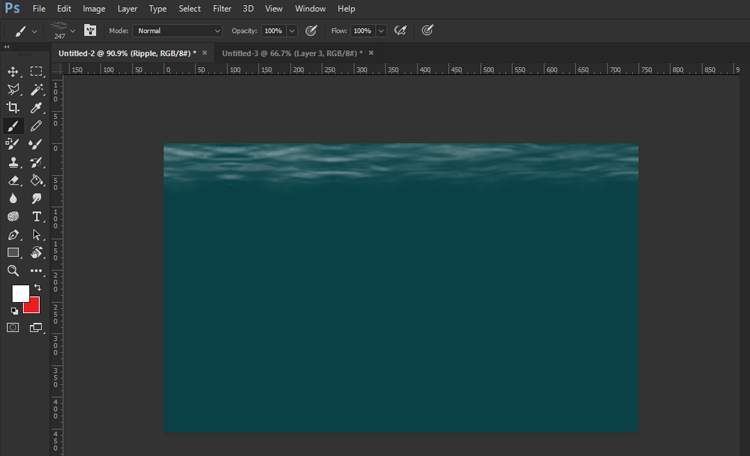
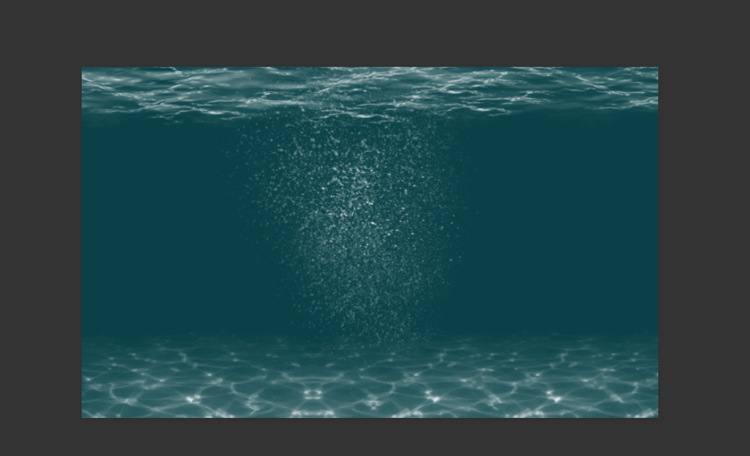
Step 3: Fill the Background with the Base Color
Use the Paint Bucket tool to fill the background with your base color: #26424D. This deep, oceanic hue will serve as the foundation for your artwork, setting the tone for your sea painting.

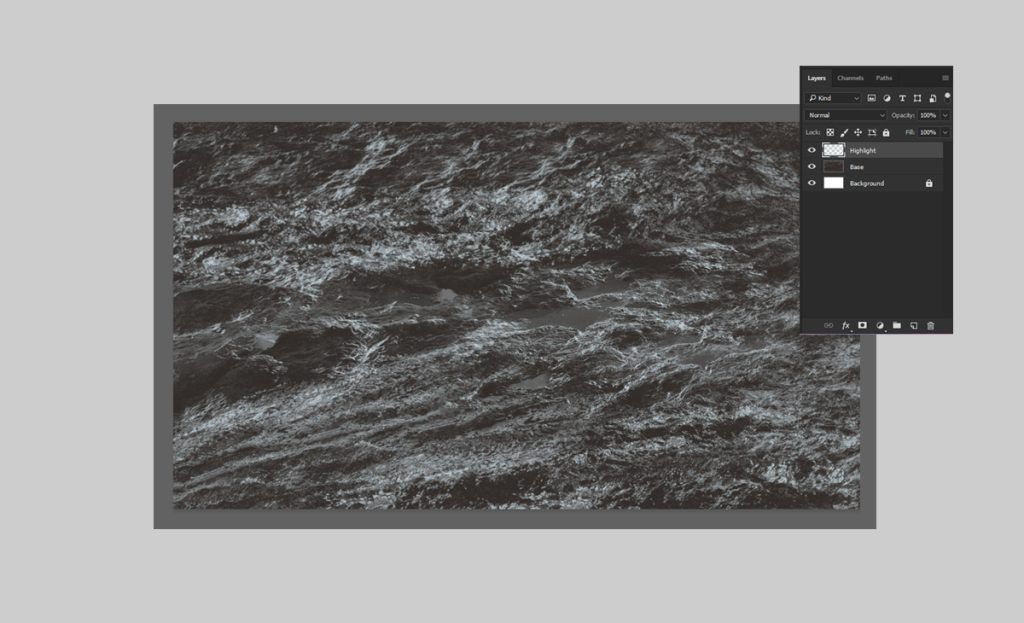
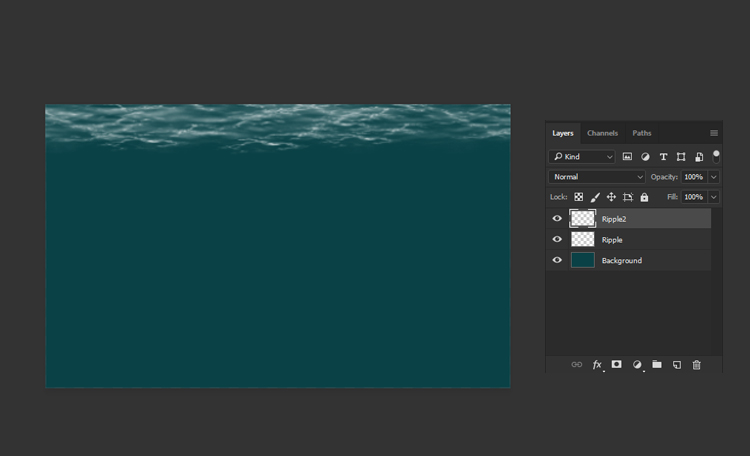
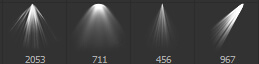
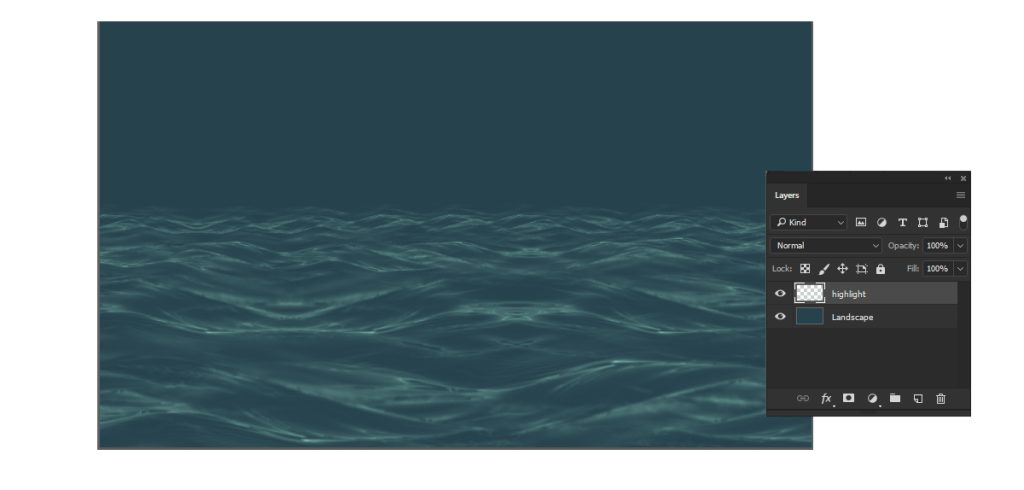
Step 3: Adding Highlights with the Ocean Brush Pack
To use the brushes, you need to load them into Photoshop
First, create a new layer and rename it “Highlight.” Using any brush from the Ocean Brush Pack, set your foreground color to #7FB8AB. Select the Brush Tool (B) and start painting the highlight areas in your ocean scene. This color will add a touch of light and vibrancy, mimicking the way sunlight dances on the waves.
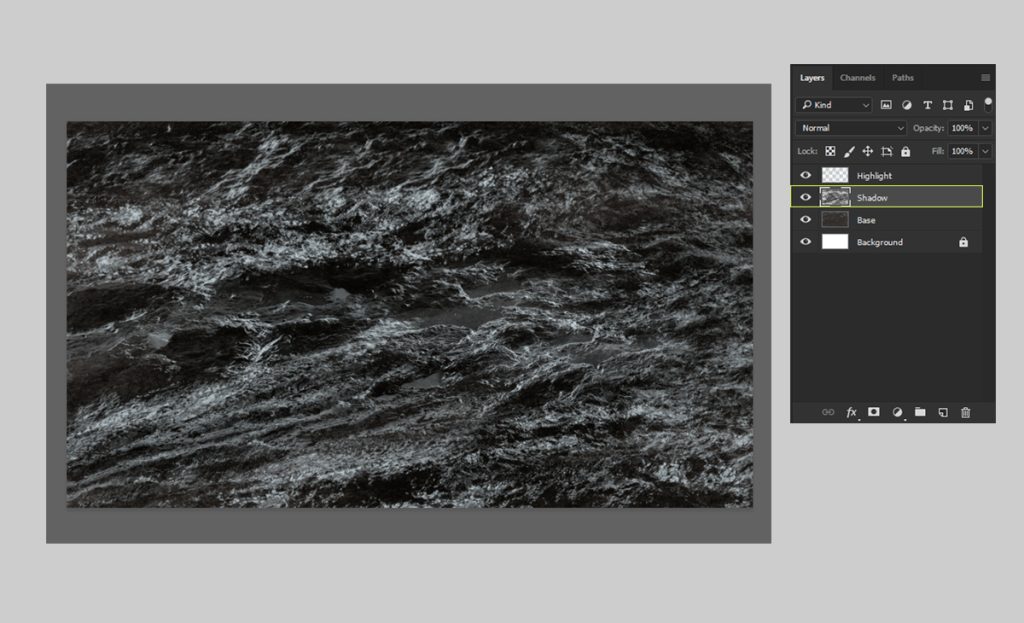
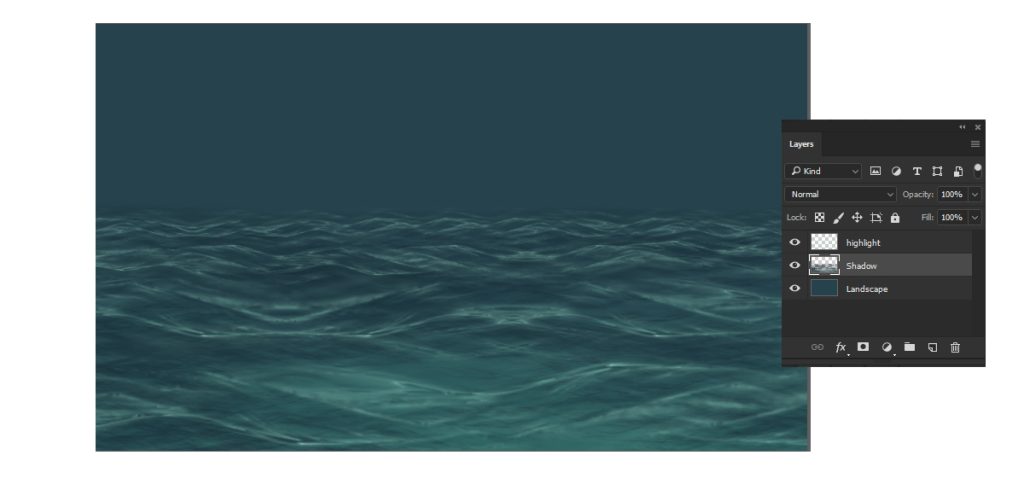
Step 4: Painting the Shadows
Create a new layer and name it “Shadow.” Place this layer below the “Highlight” layer. Set your shadow color to #1A333D and, using the same brush from the Ocean Brush Pack, paint the shadow areas.
This will add depth and dimension to your ocean scene, enhancing the contrast and making the highlights stand out even more.
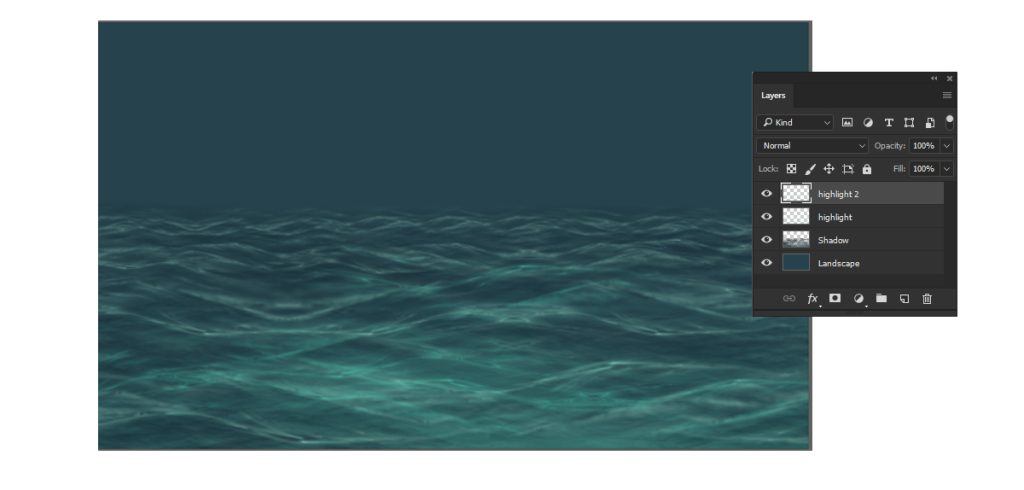
Step 5: Adding Secondary Highlights
Create a new layer and rename it “Highlight 2.” Position this layer above the “Highlight” layer. Set your shadow color to #4bbaa5, paint your secondary highlights in this layer.
This will enhance the light and detail in your ocean scene, adding an extra dimension to your artwork.
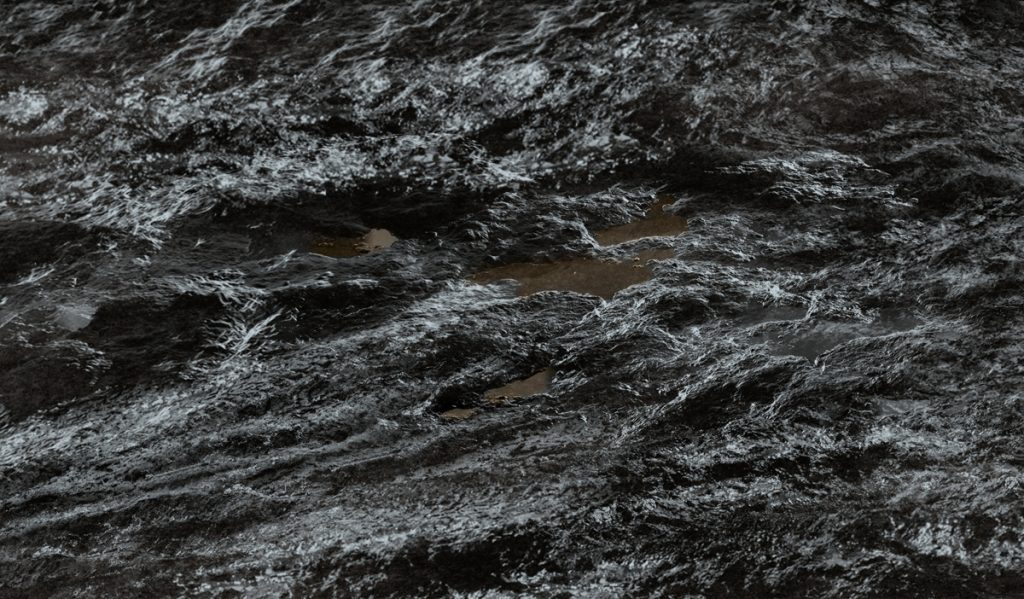
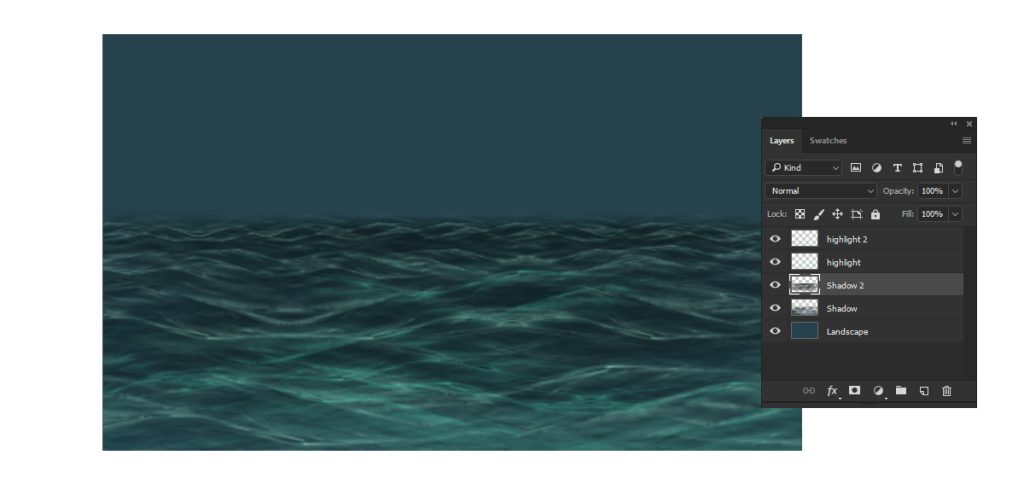
Step 6: Adding Second Layer of Shadows
Create a new layer and rename it “Shadow 2.” Place this layer above the “Shadow” layer. Set your shadow color to #0F2025. , paint the shadow areas to add more contrast and depth to your ocean scene.
This additional layer of shadows will enhance the dimensionality of your artwork, making it even more realistic.
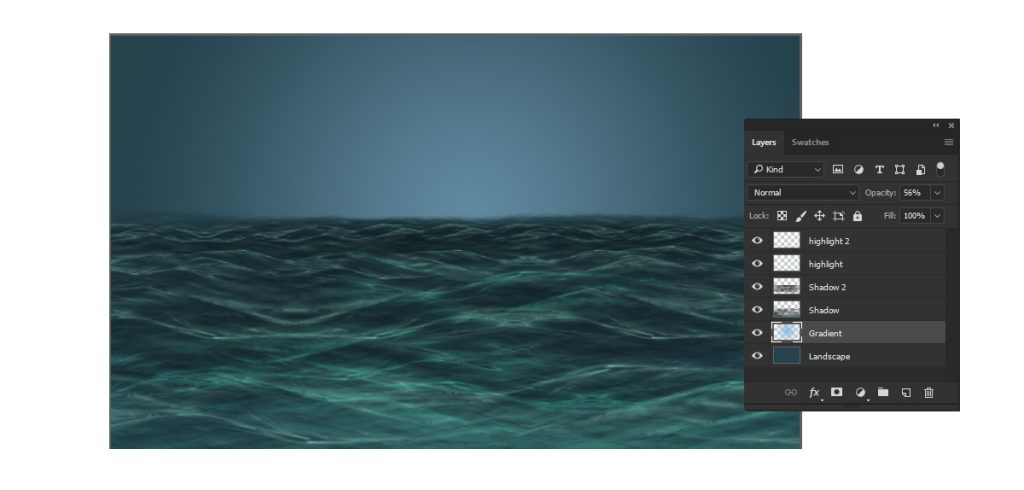
Step 7: Painting the Light
Create a new layer and position it below the “Highlight” layer. Select the Gradient Tool and choose the Radial Gradient option.
Use this color for the light: #5e869b. Paint the direction of the light in the sky, which will give a sense of illumination and add depth to your ocean scene.
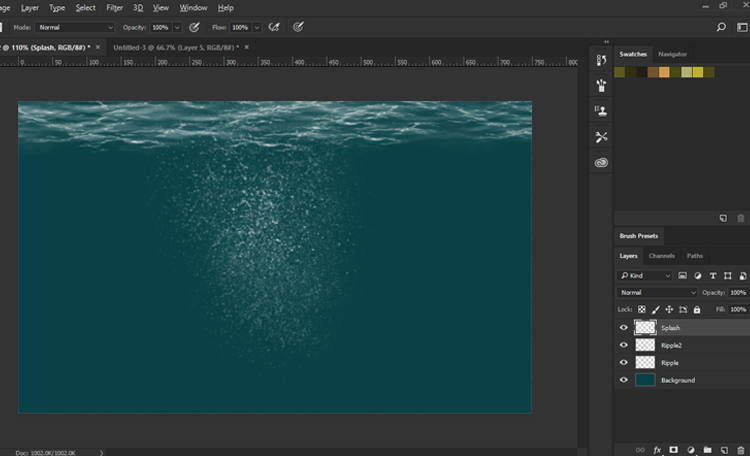
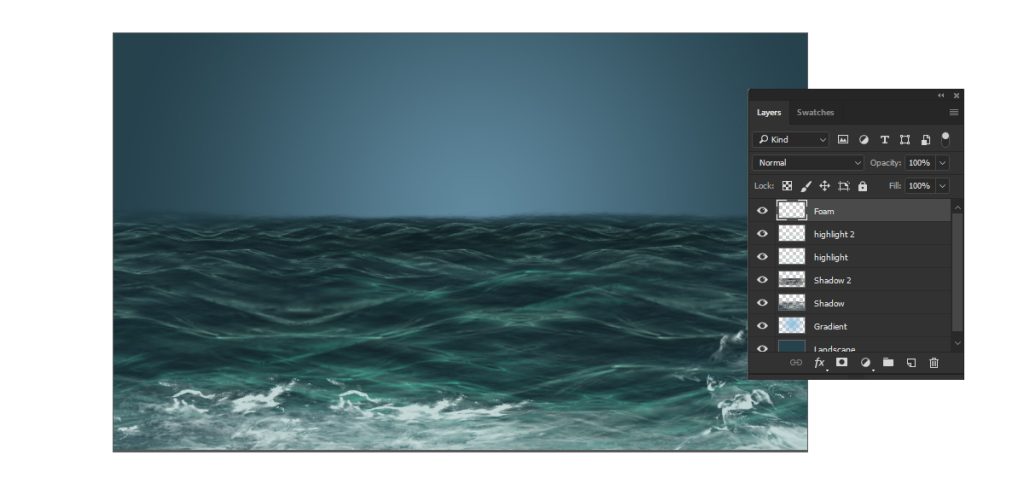
Step 8: Painting the Foam
Create a new layer and place it above the “Highlight 2” layer.
Select the Foam Brush from the Ocean Brush Pack, set your foreground color to #FFFFFF (white), and start painting the foam.
This will add the final touch to your ocean waves, creating realistic and dynamic foam patterns that enhance the overall scene.
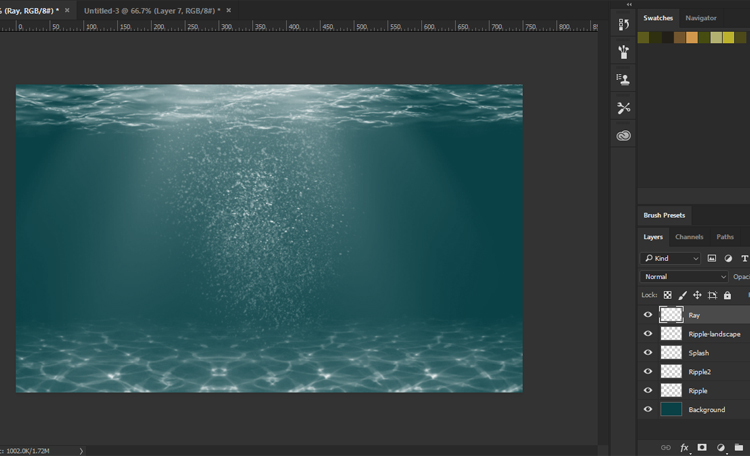
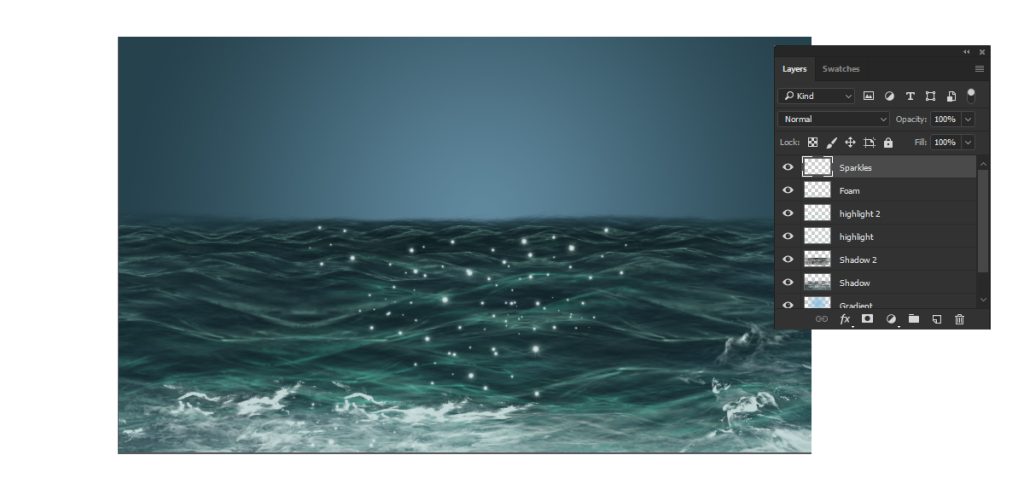
Step 9: Adding the Glitter
Create a new layer and set it above all the previous layers.
Select a glitter brush from the Ocean Brush Pack and set your foreground color to #FFFFFF (white).
Use the brush to add glittering highlights to the ocean, mimicking the sparkle of sunlight on the water.
This will add a magical and dynamic touch to your artwork, making it truly stand out.
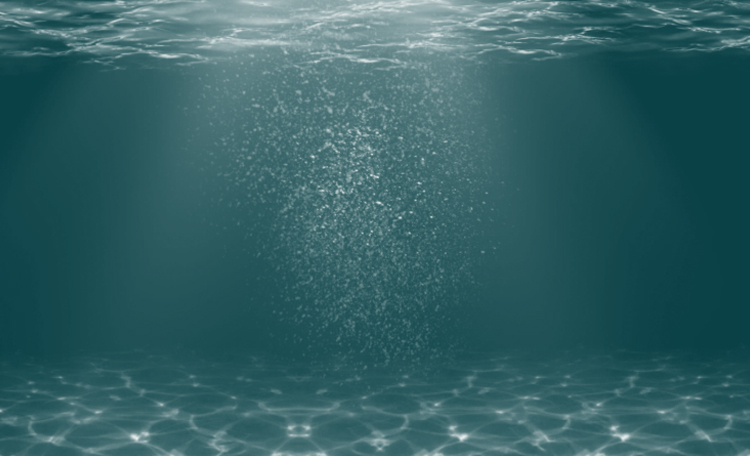
Congratulations! Your Ocean Painting Tutorial is Complete
Great job following along! You’ve successfully created a stunning ocean scene in Photoshop using our premium brushes. If you want to see the entire process in action, you can watch the video tutorial here.